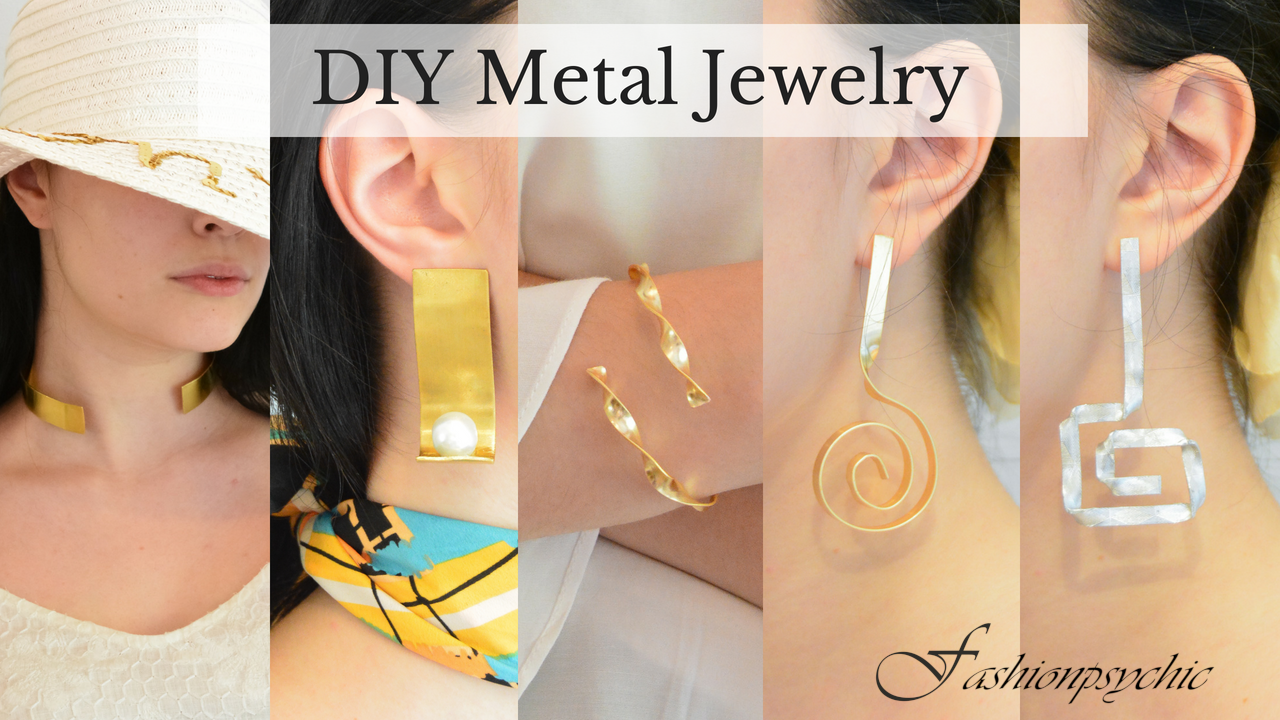
DIY Metal Jewelry Using Wire And Brass Strips
Metal Jewelry Material
If there is any DIY I love, it’s the kind that looks store-bought and not homemade. I love finding ways to create a piece of jewelry instead of simply buying it in store. Because metal jewelry, in particular, is hard or at least not as common to create on your own, as opposed to something with pearls, it looks more store-bought. Thankfully it’s so easy to find the right material online nowadays, there is no limit to what you can do. When I’m looking for material I always begin my search at Etsy.com, and usually, there is no need to search elsewhere. I love Etsy, not only because of their great selection (from sellers all over the world.) But also because it’s a way to support small businesses and creative people. Not to mention how easy and smooth everything is and how Etsy itself is a trustworthy site.
My point in mentioning Etsy in today’s post is because my brass strips and flat wire was purchased from different sellers at Etsy.com. The rest of the material comes from online shops here in Sweden, which are also smaller businesses with good prices. I find that some larger companies sell material for far more than it is actually worth, so keep that in mind while shopping. After all, one of the reasons to create your own jewelry is to save money.
Metal Jewelry DIY
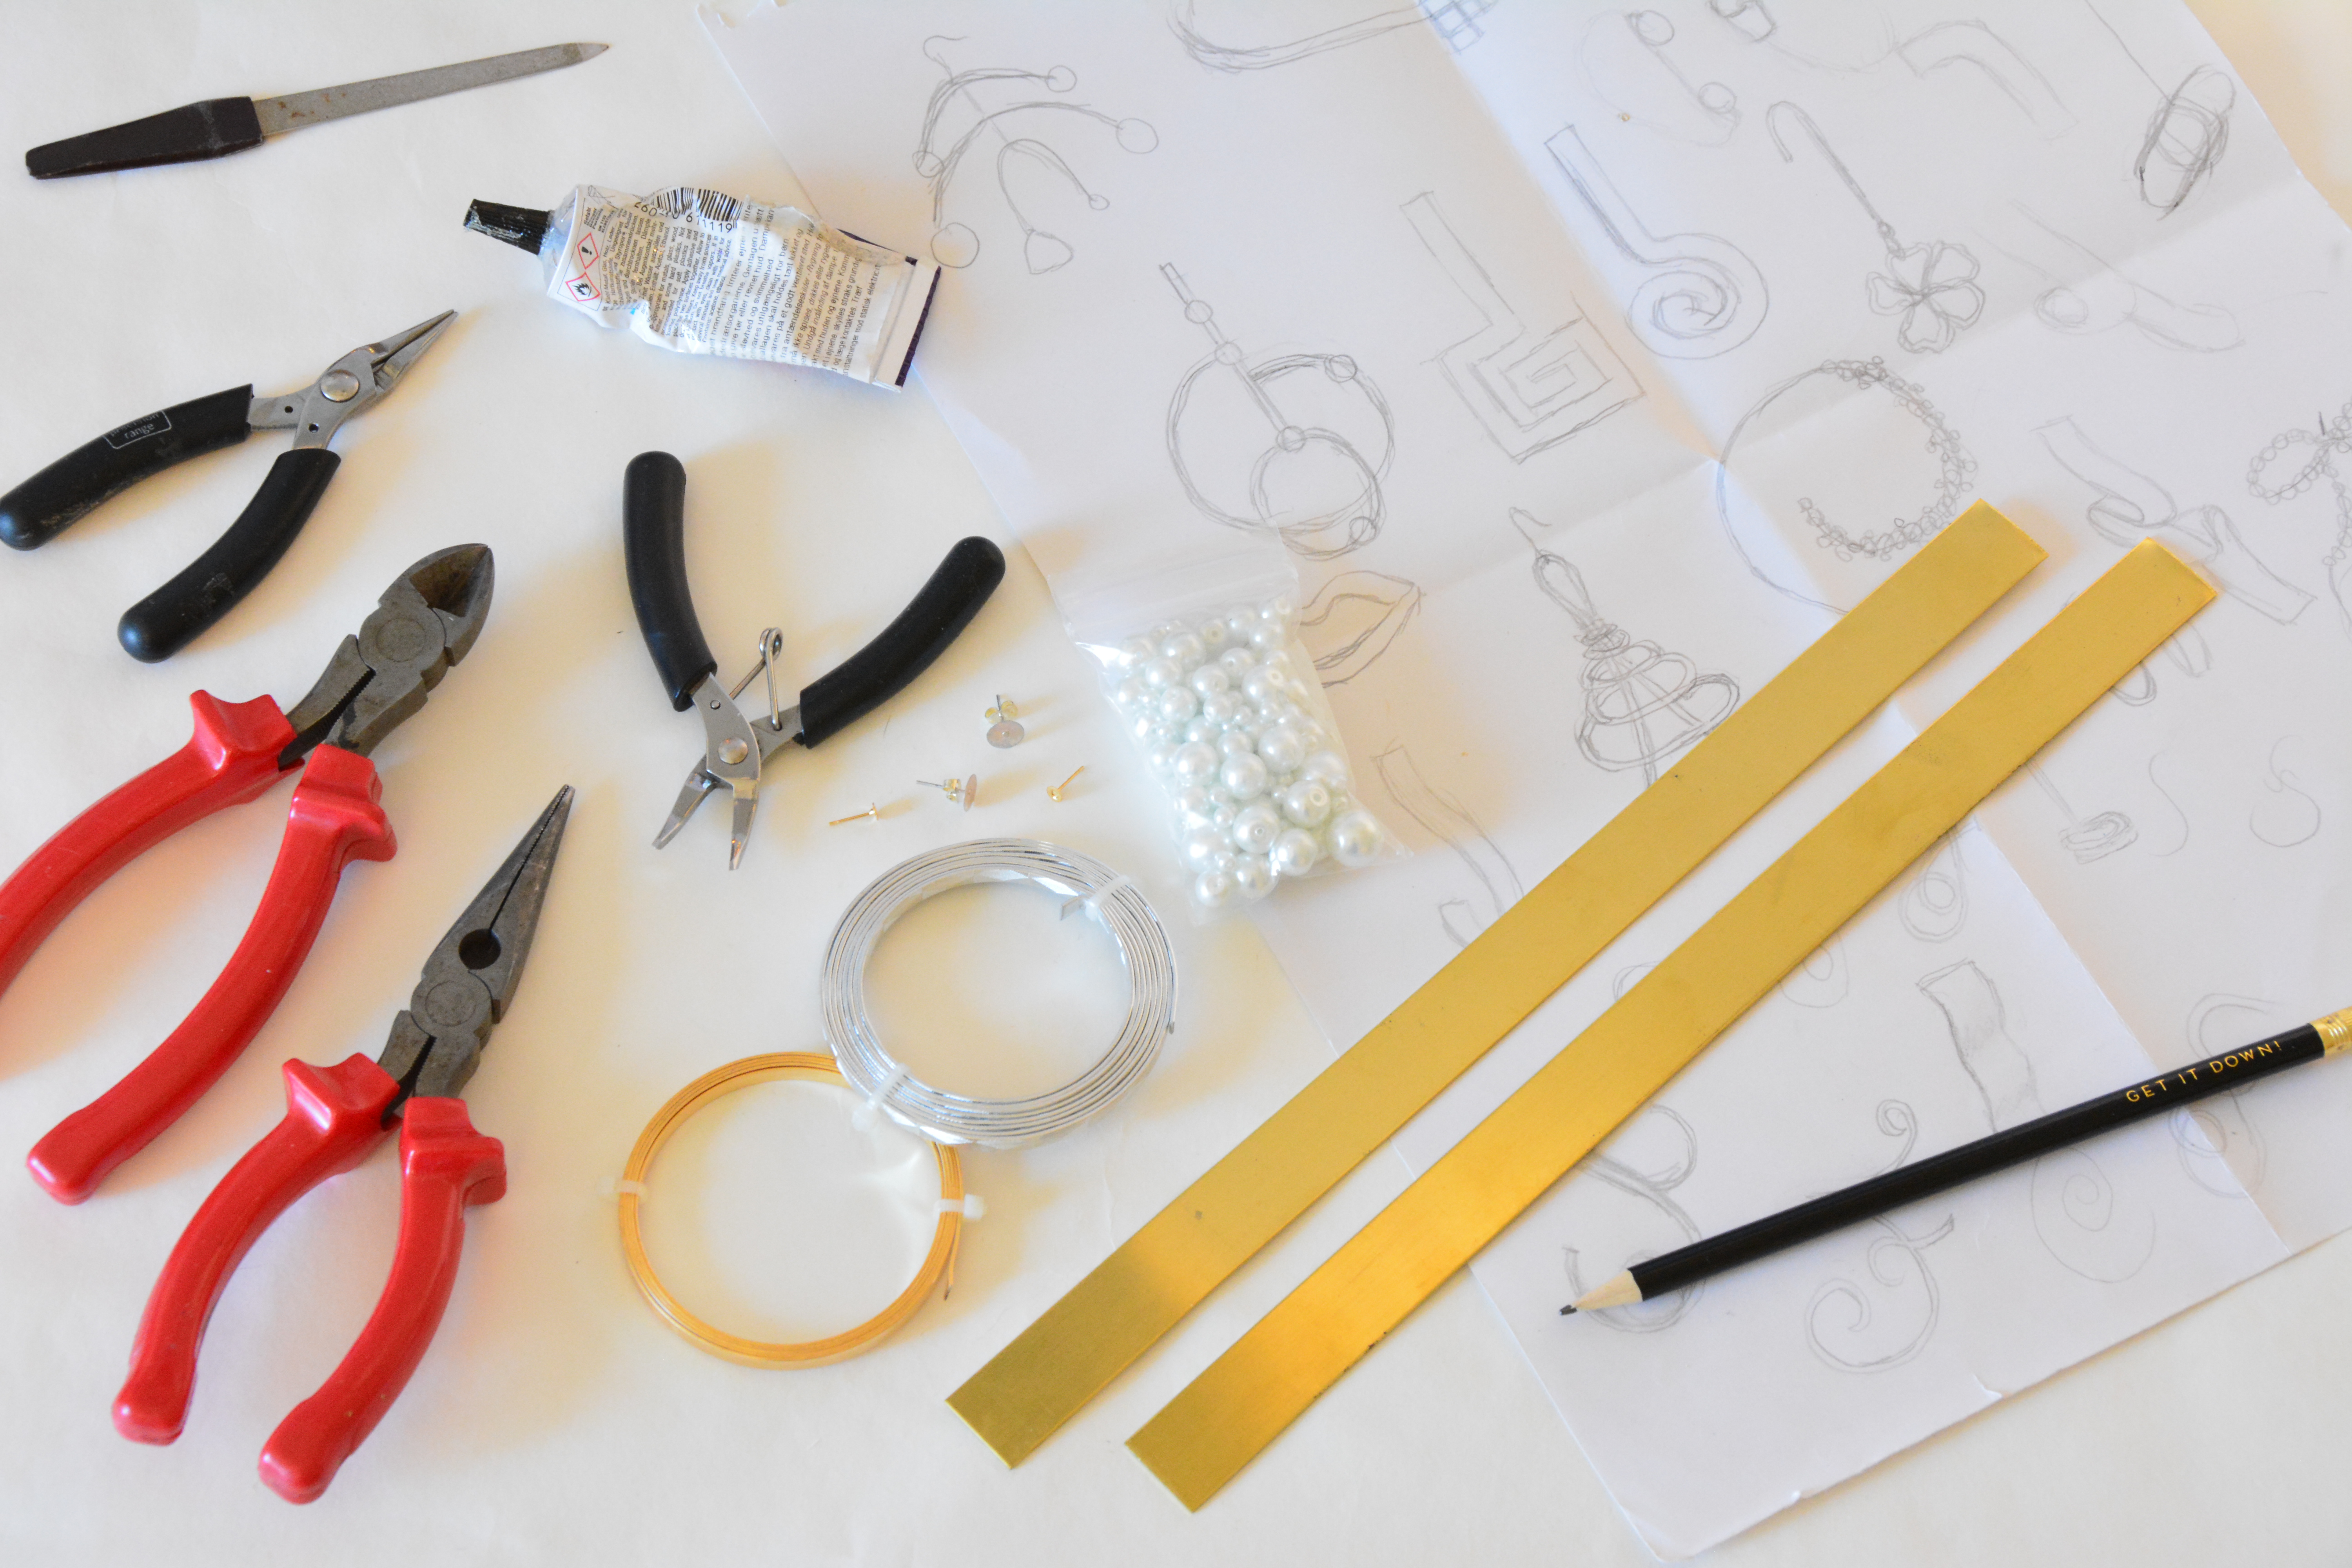
Today’s DIY focuses mainly on metal and I have created two different pairs of earrings, a bracelet, and a necklace. I used a few different things two create my metal jewelry, some of which are not in the picture but here is a list.
- Pliers: Round nose pliers, flat nose pliers (with and without teeth), cutting pliers and flat parallel pliers
- Tin scissors
- Metal file (the metal nail file was not efficient enough..)
- A piece of fabric
- Jewelry glue
- Flat earring posts
- White pearls (I only used two large ones which were about 12 mm)
- Flat gold wire from Artistic wire.
- Two 12 inch brass strips
- Silver aluminum wire
 Brass Choker
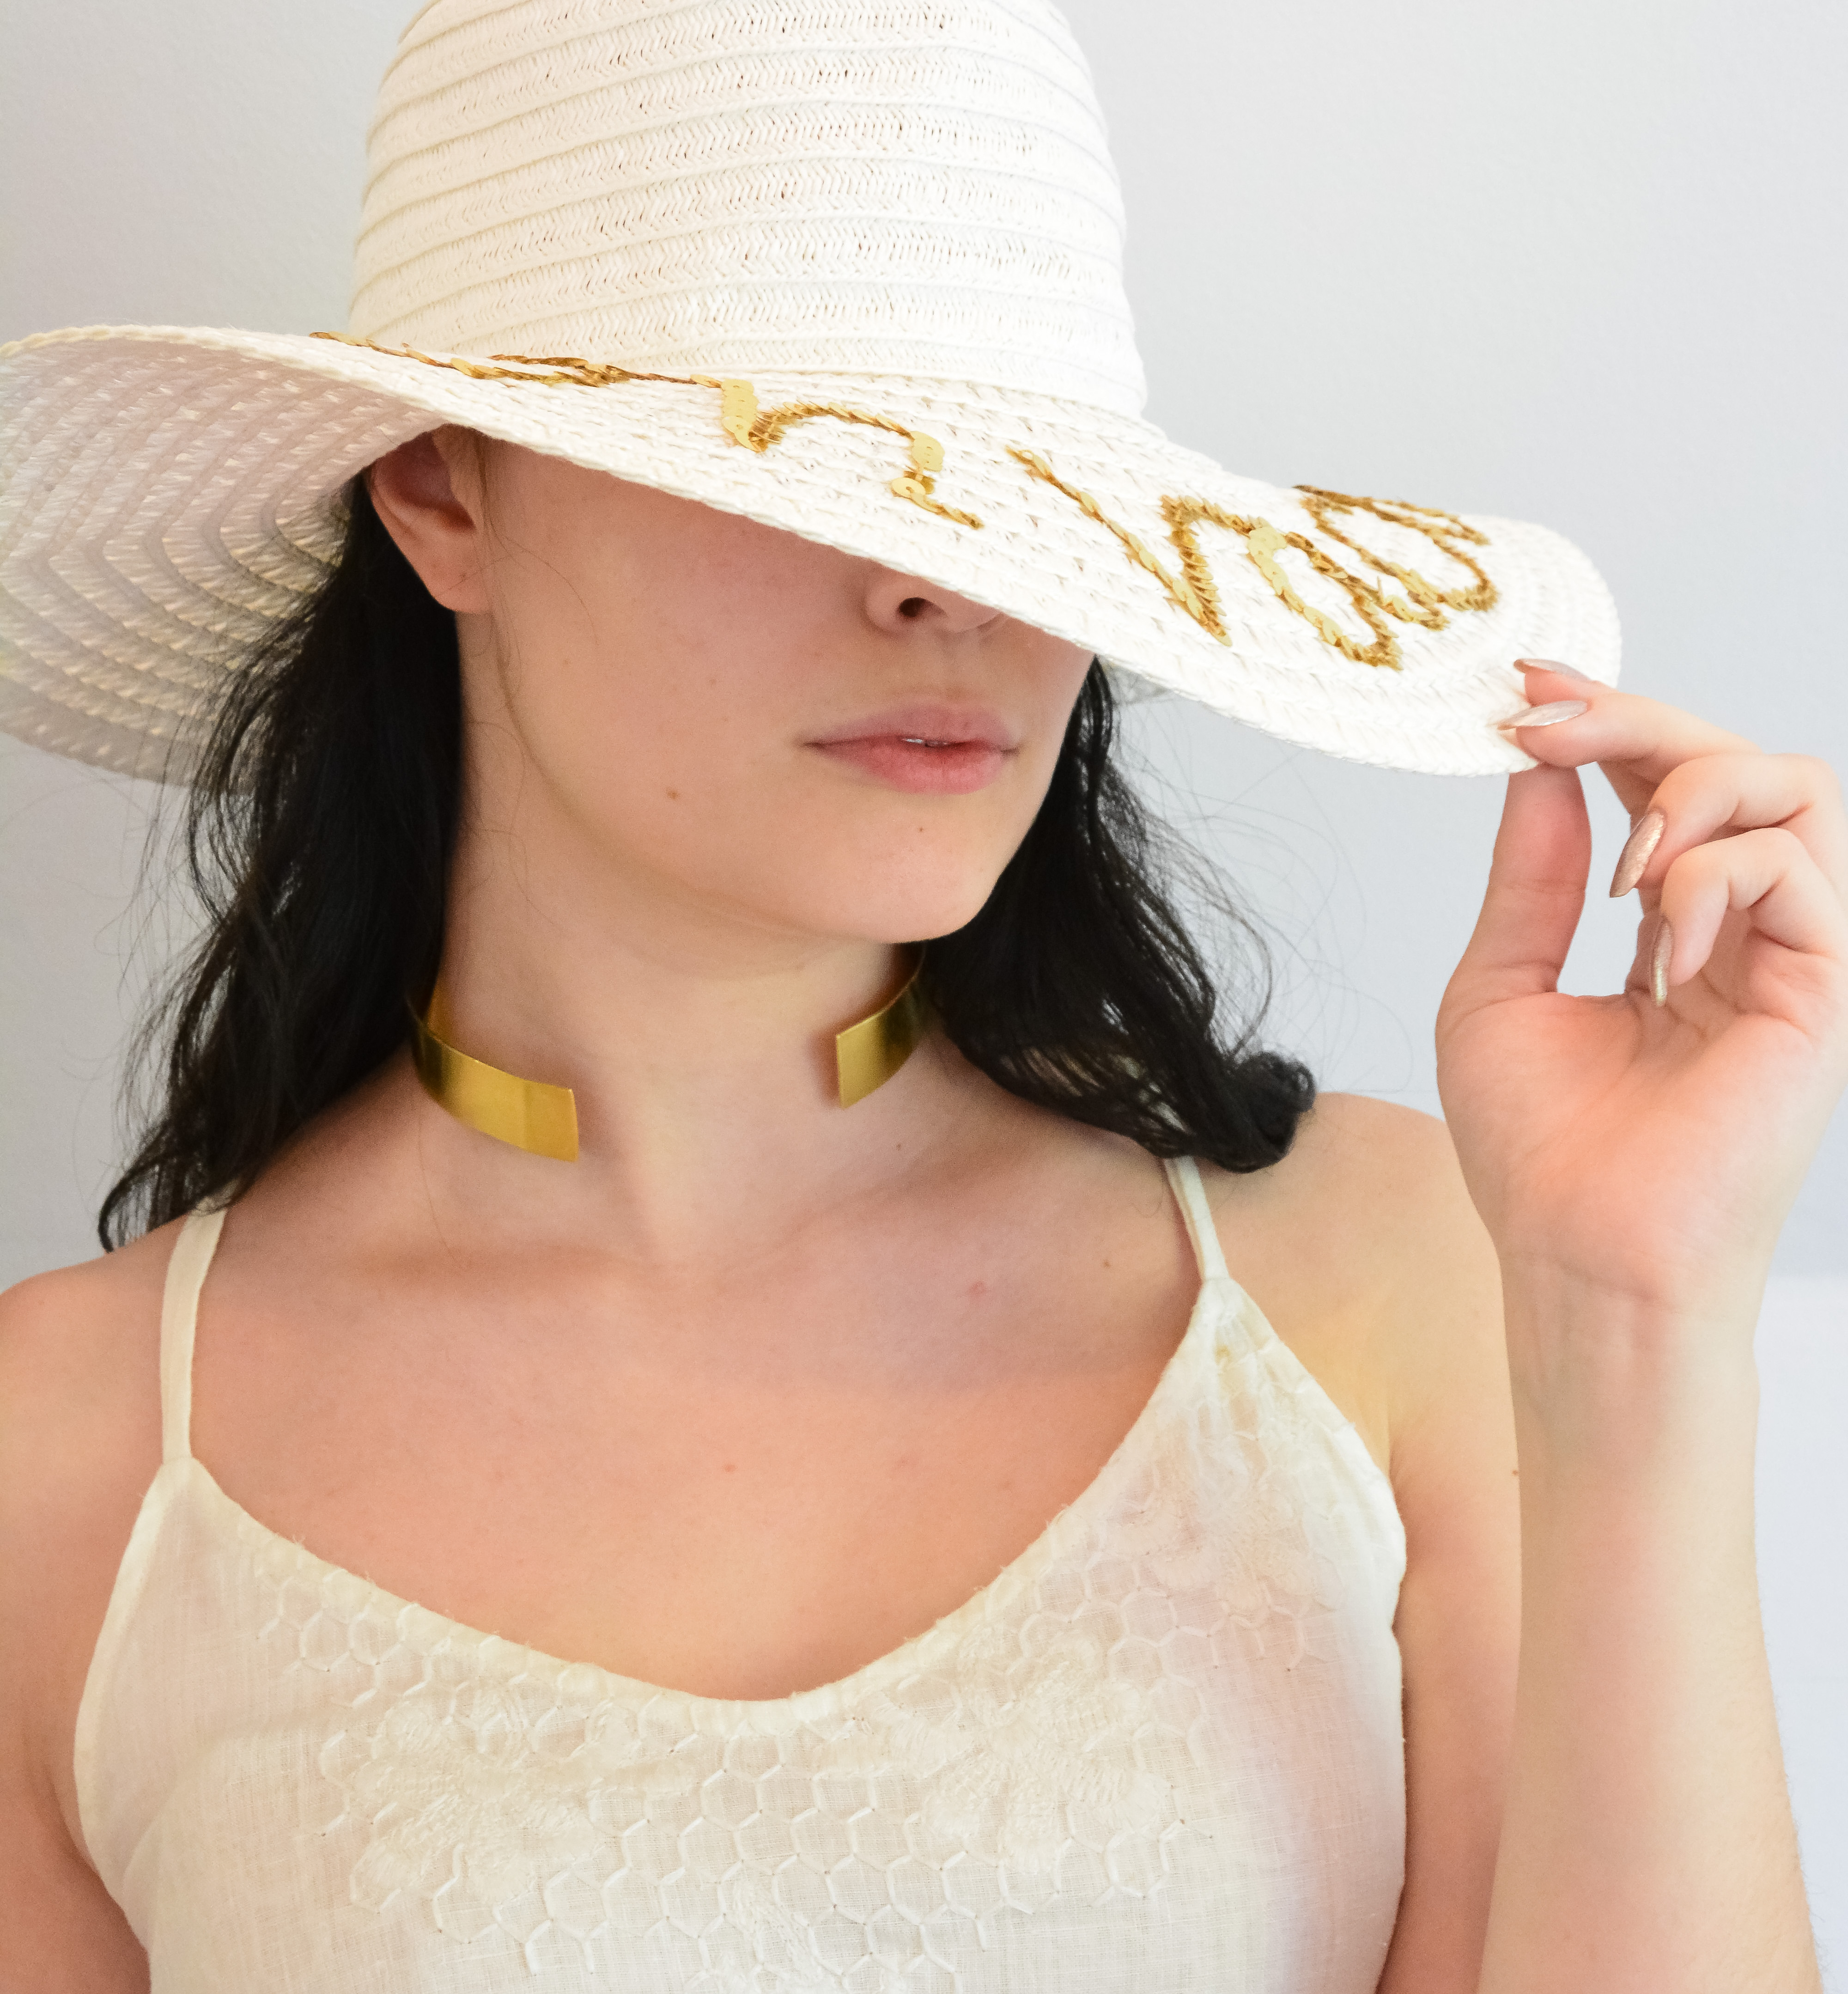
The first metal jewelry piece I made was the brass choker and despite its simple appearance it took me a while to make it. Because the brass I had ordered were harder to shape than I would have hoped for, it took me a while to perfect it. But the process itself is pretty simple with only two steps.
- Before shaping my brass strip, I need to address any sharp edges and corners by filing them with my metal file. This was very satisfying with the gold colored dust left on the table. I made sure to file the edges enough to make them more rounded.
- Next was the shaping process which wasn’t nearly as fun but more of a challenge. To shape the brass strip, I first measured around my neck. Then began to search for something with the same size or slightly smaller. I found a glass jar, did some shaping around that and then I moved on to a round jewelry box. After shaping it, the very edges were still straight so I went in with my flat nose pliers with teeth to bend them slightly. An important thing to remember is that the teeth will offer a better grip it will also leave marks. This is why I used a piece of fabric to protect the metal.


Note: You will want to make sure that the opening is wide enough so you can put on the necklace. What’s great about brass is that you are also able to open it up slightly without ruining its shape.
 Brass Earrings
These brass earrings are probably my favorites and its style is what inspired me to create my metal jewelry in the first place. They didn’t turn out like I had planned but I still love them. I had first intended them to include twisted elements and more volume but because I couldn’t shape them as I had intended, I had to keep them more simple.
- I started by cutting the other brass strip in half (which turned out to be a lot easier with tin scissors) thinking I would use each half for the earrings. Thus I began shaping one of the pieces into a wavy shape and then I realized such a big piece would be way too heavy. Thankfully I could adjust the shape slightly making it symmetrical on both sides and then I cut it in half.
- I adjusted the pieces by making them curve in more at the end as well as cutting off a few pieces. When I finally felt happy with the shape on both pieces, I began filing them with my metal file.
- Next, I took the largest white pearls I could find and glued them on to the metal pieces.
- And all that was left was to glue my earring posts to the back of the pieces.


Note: Always keep the weight of the material in mind, so you don’t end up with too heavy earrings.
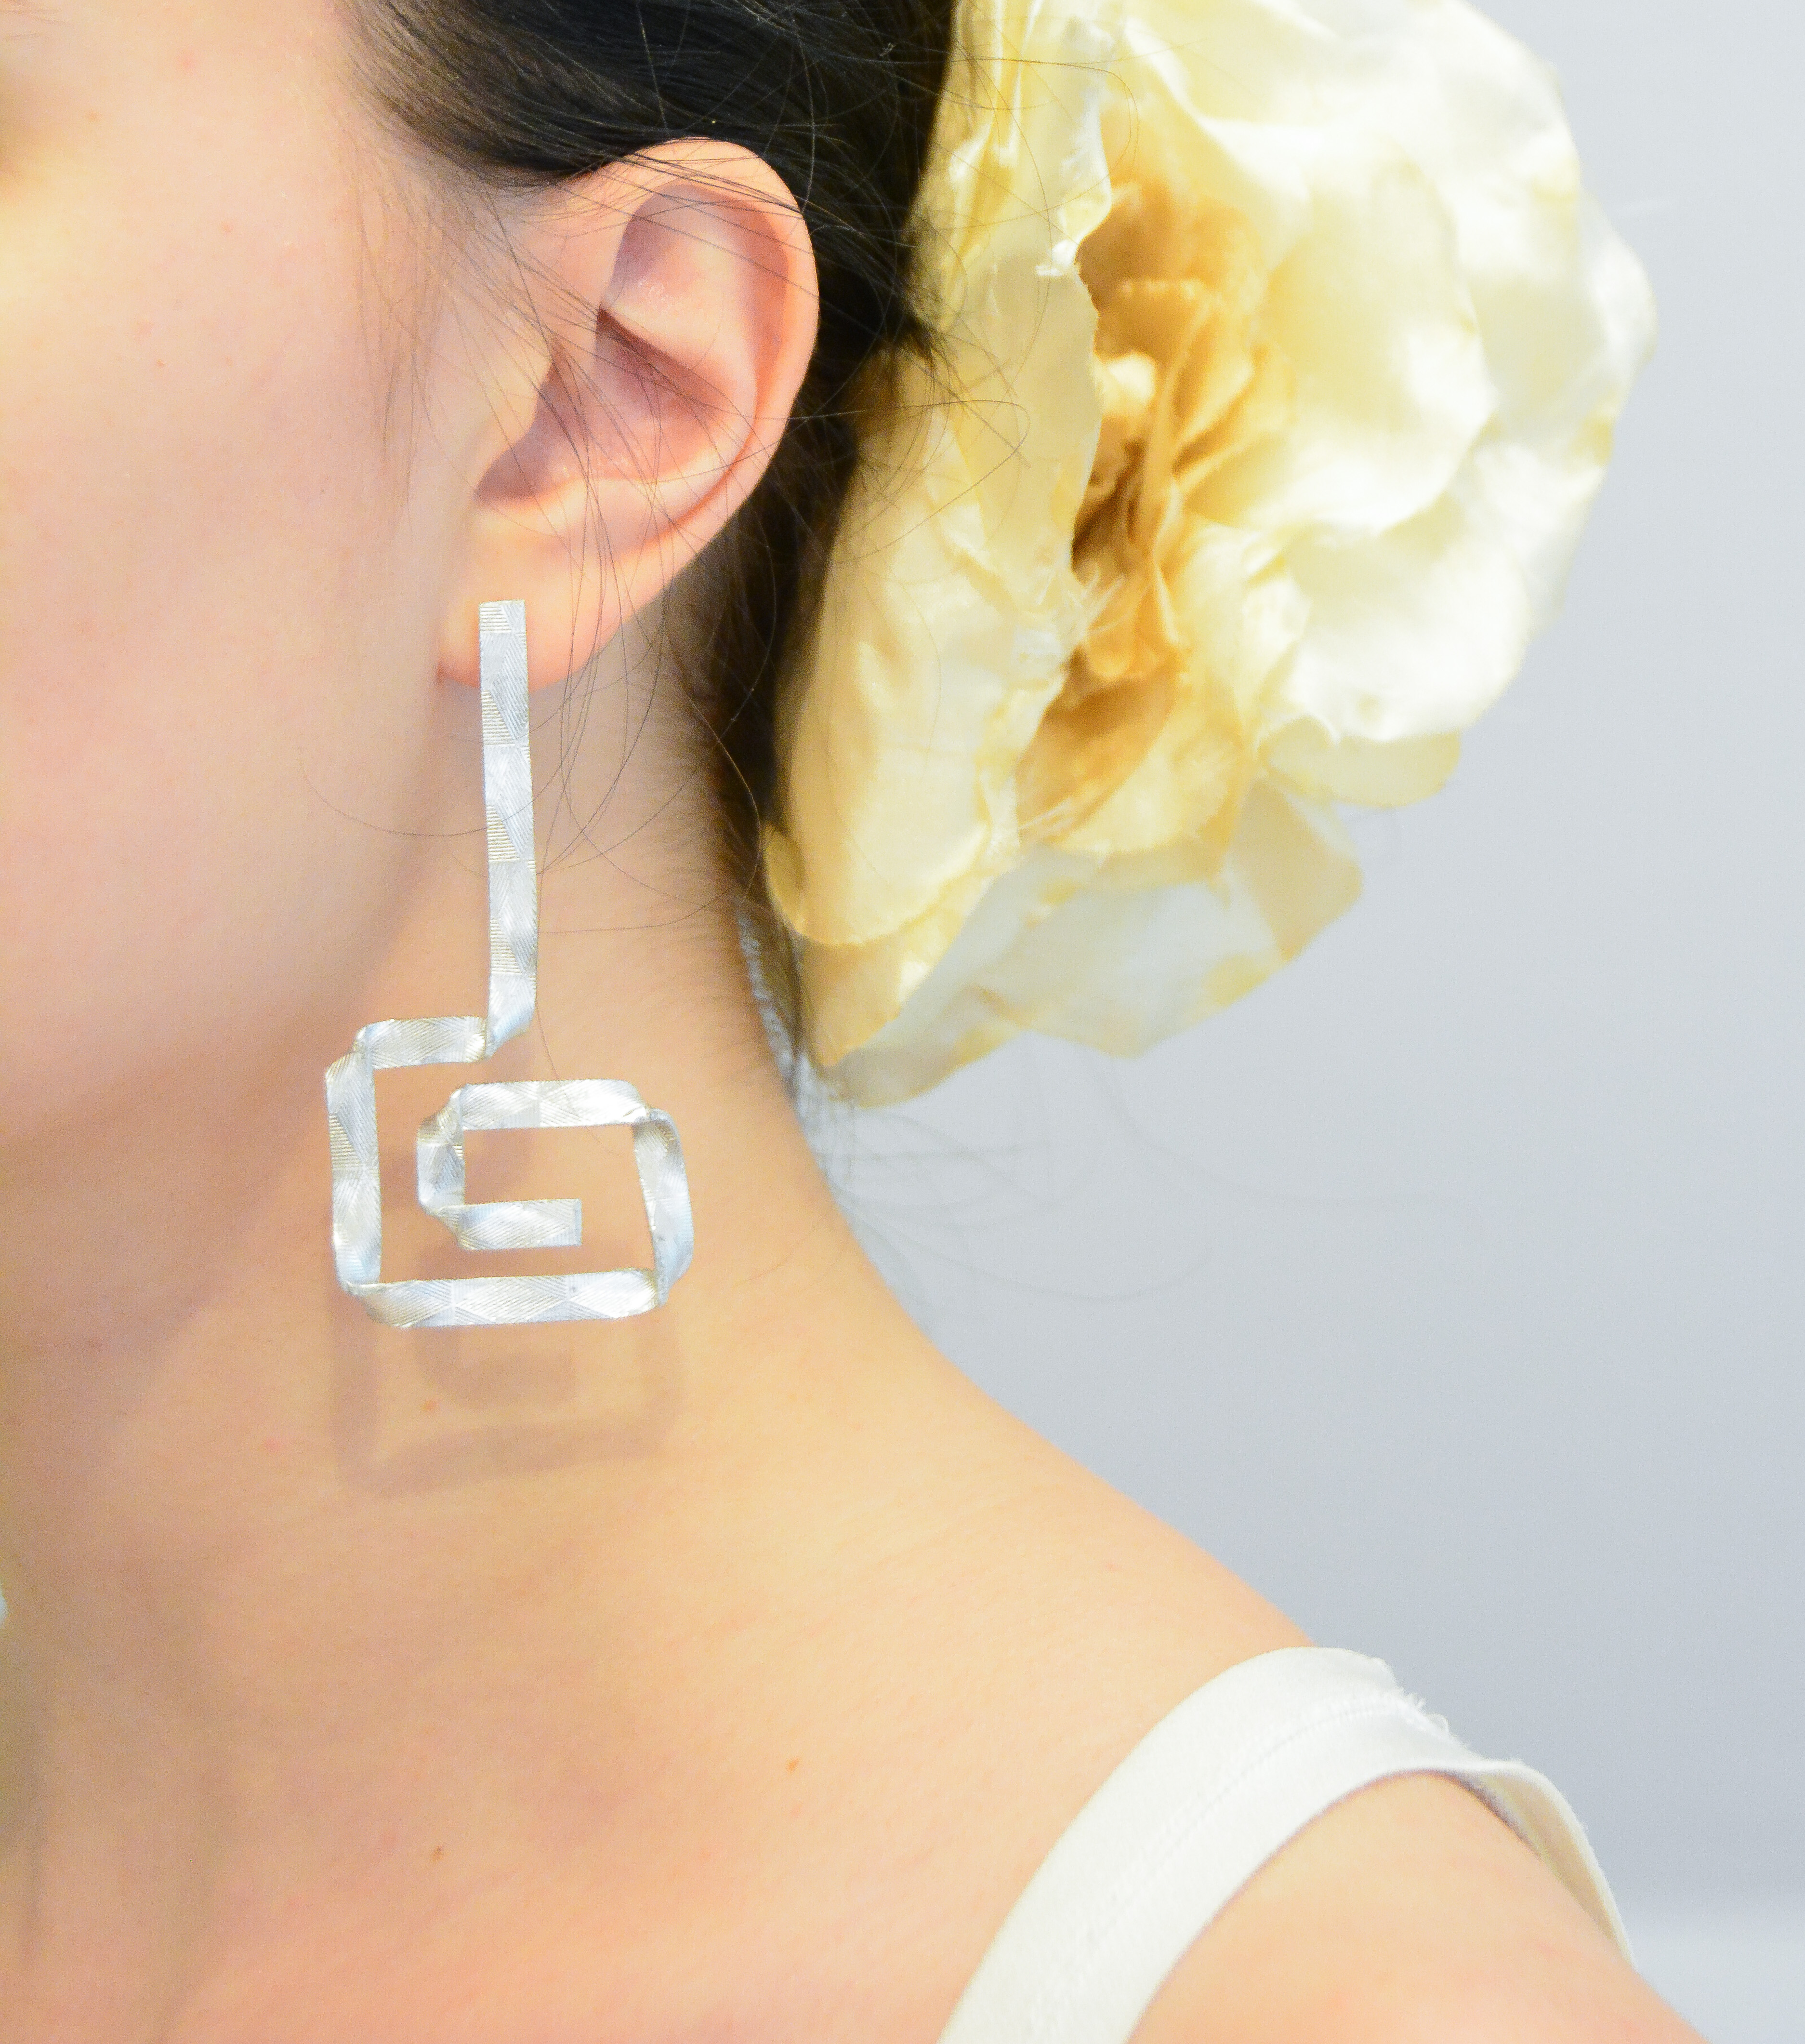
Geometric Spiral Earrings
These earrings were inspired my Jacquemus La Spirale earrings and they are a perfect example of creating something instead of buying it. I love mismatched earrings and I think that I will have a lot of use for these earrings.
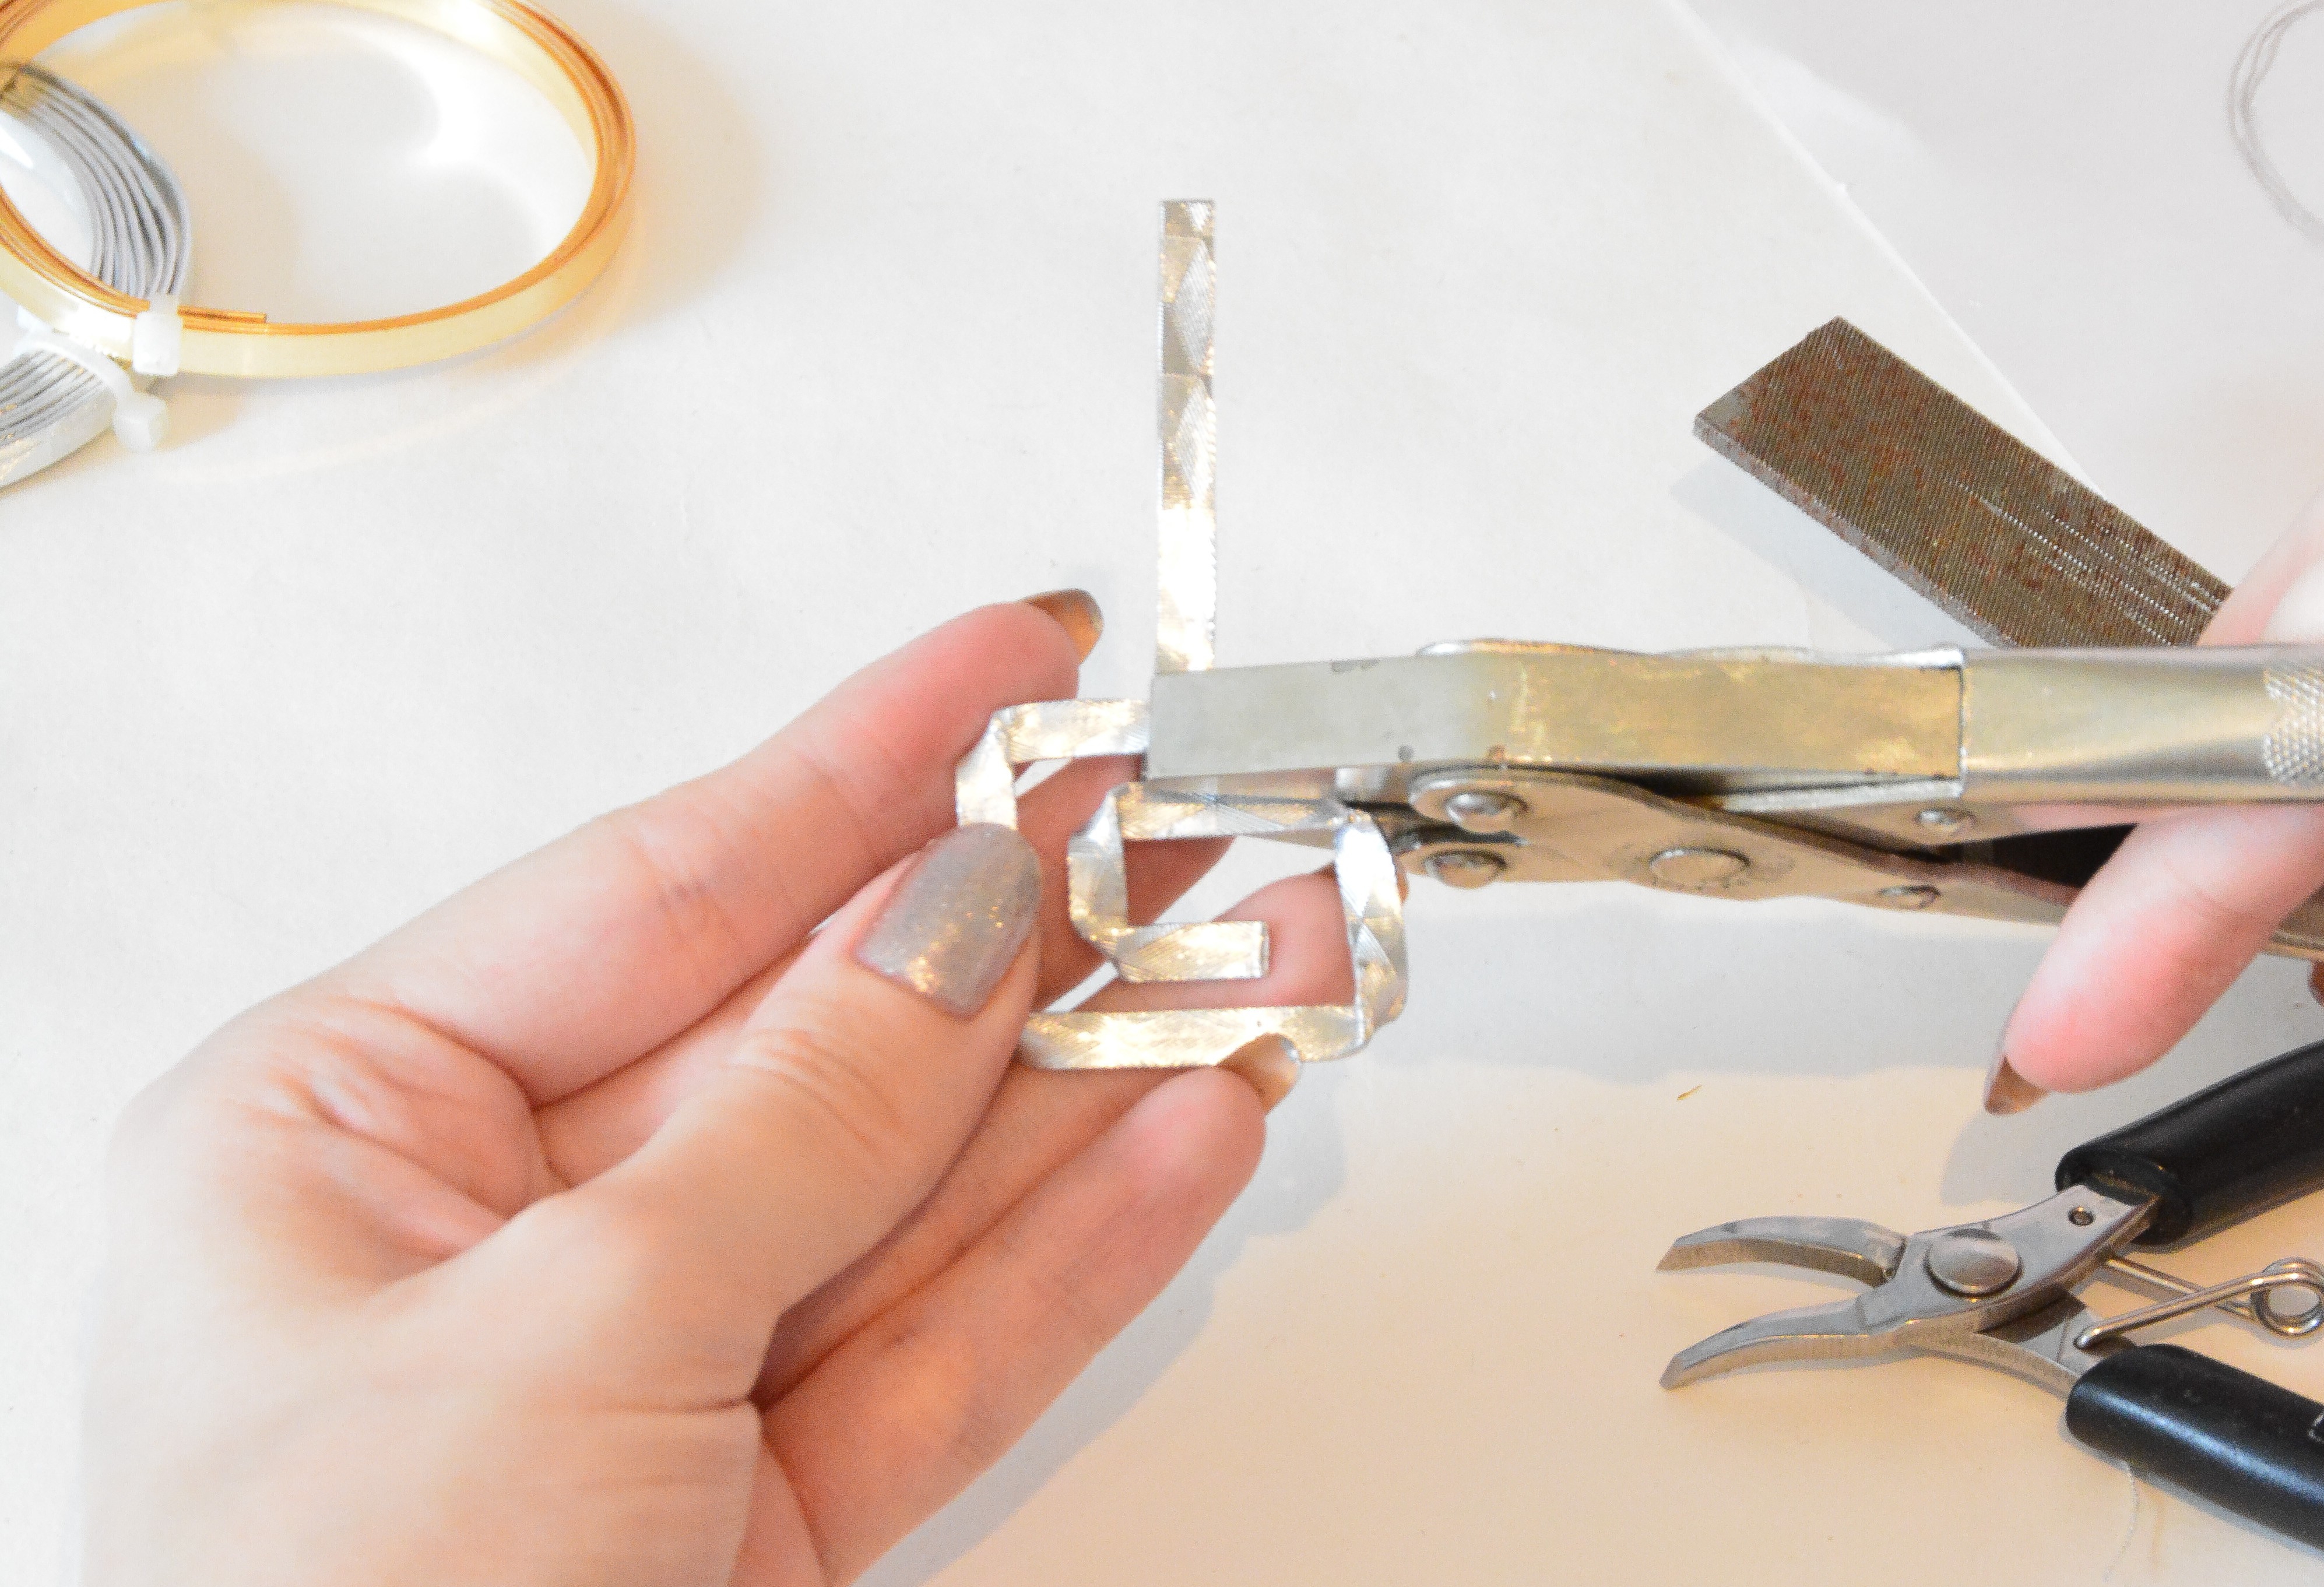
- I started by cutting a 20 cm piece of each wire and then I started shaping the silver aluminum wire.
- To achieve a square spiral shape I folded the wire to create the edges. I used my own drawing of the earrings as a reference. I started the shaping the spiral working my way in towards the center.
- To flatten the folds at the corners I used flat parallel wires while making sure the shape I had already made wasn’t disrupted. Once I finished I used my metal file again at the ends of the wire


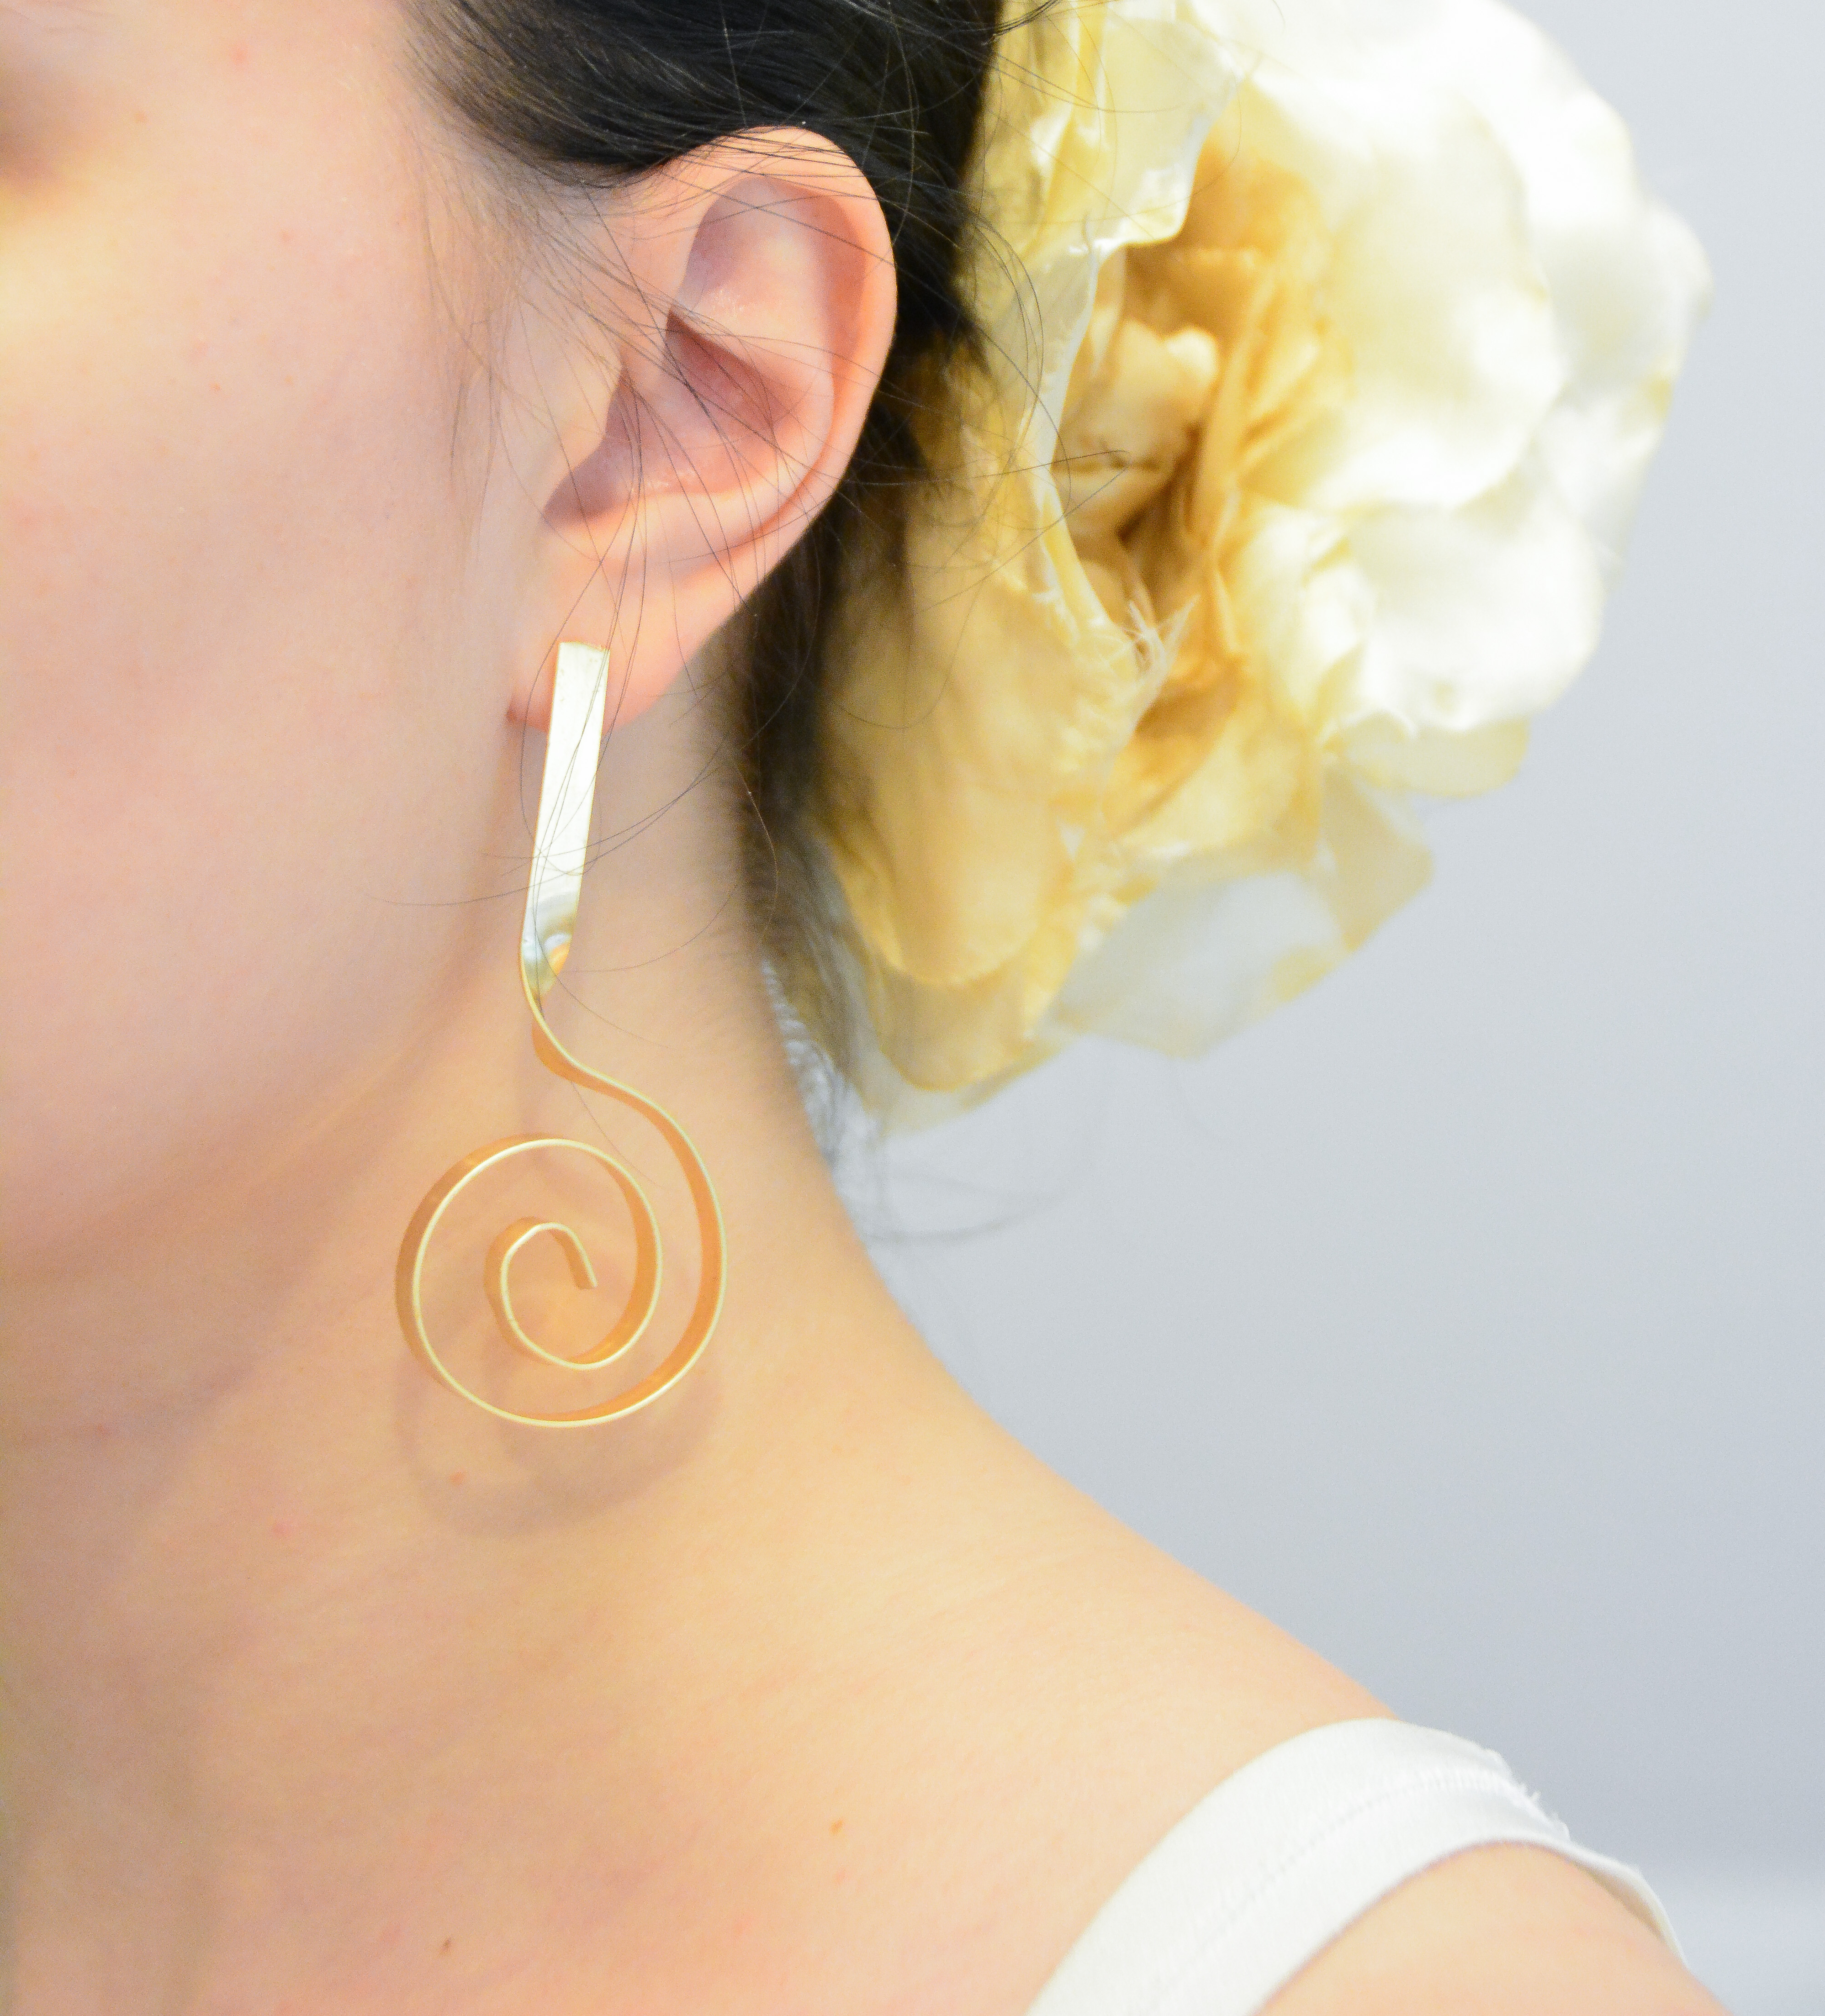
- For the gold earring, I started by twisting the wire where I wanted the spiral to begin.
- Then I used a foundation bottle with the diameter I wanted to create a round shape.
- To continue the spiral I used a lipstick tube to create an even smaller round shape and then I used pliers to adjust it further. When I was happy with the shape, I filed the ends of the wire.
- Finally, I glued the earring posts to the finished wire pieces.


Note: When shaping wire, it’s always helpful with different things to shape them around. There are even mandrels made specifically to shape wire, but I settle for my makeup containers and glass jars..


Twisted Bracelet
The last piece I made was the only one out of my metal jewelry I hadn’t planned to make but I am so pleased with it. The process of making this twisted bracelet is quite self-explanatory, but it wasn’t as easy as I thought it would be.
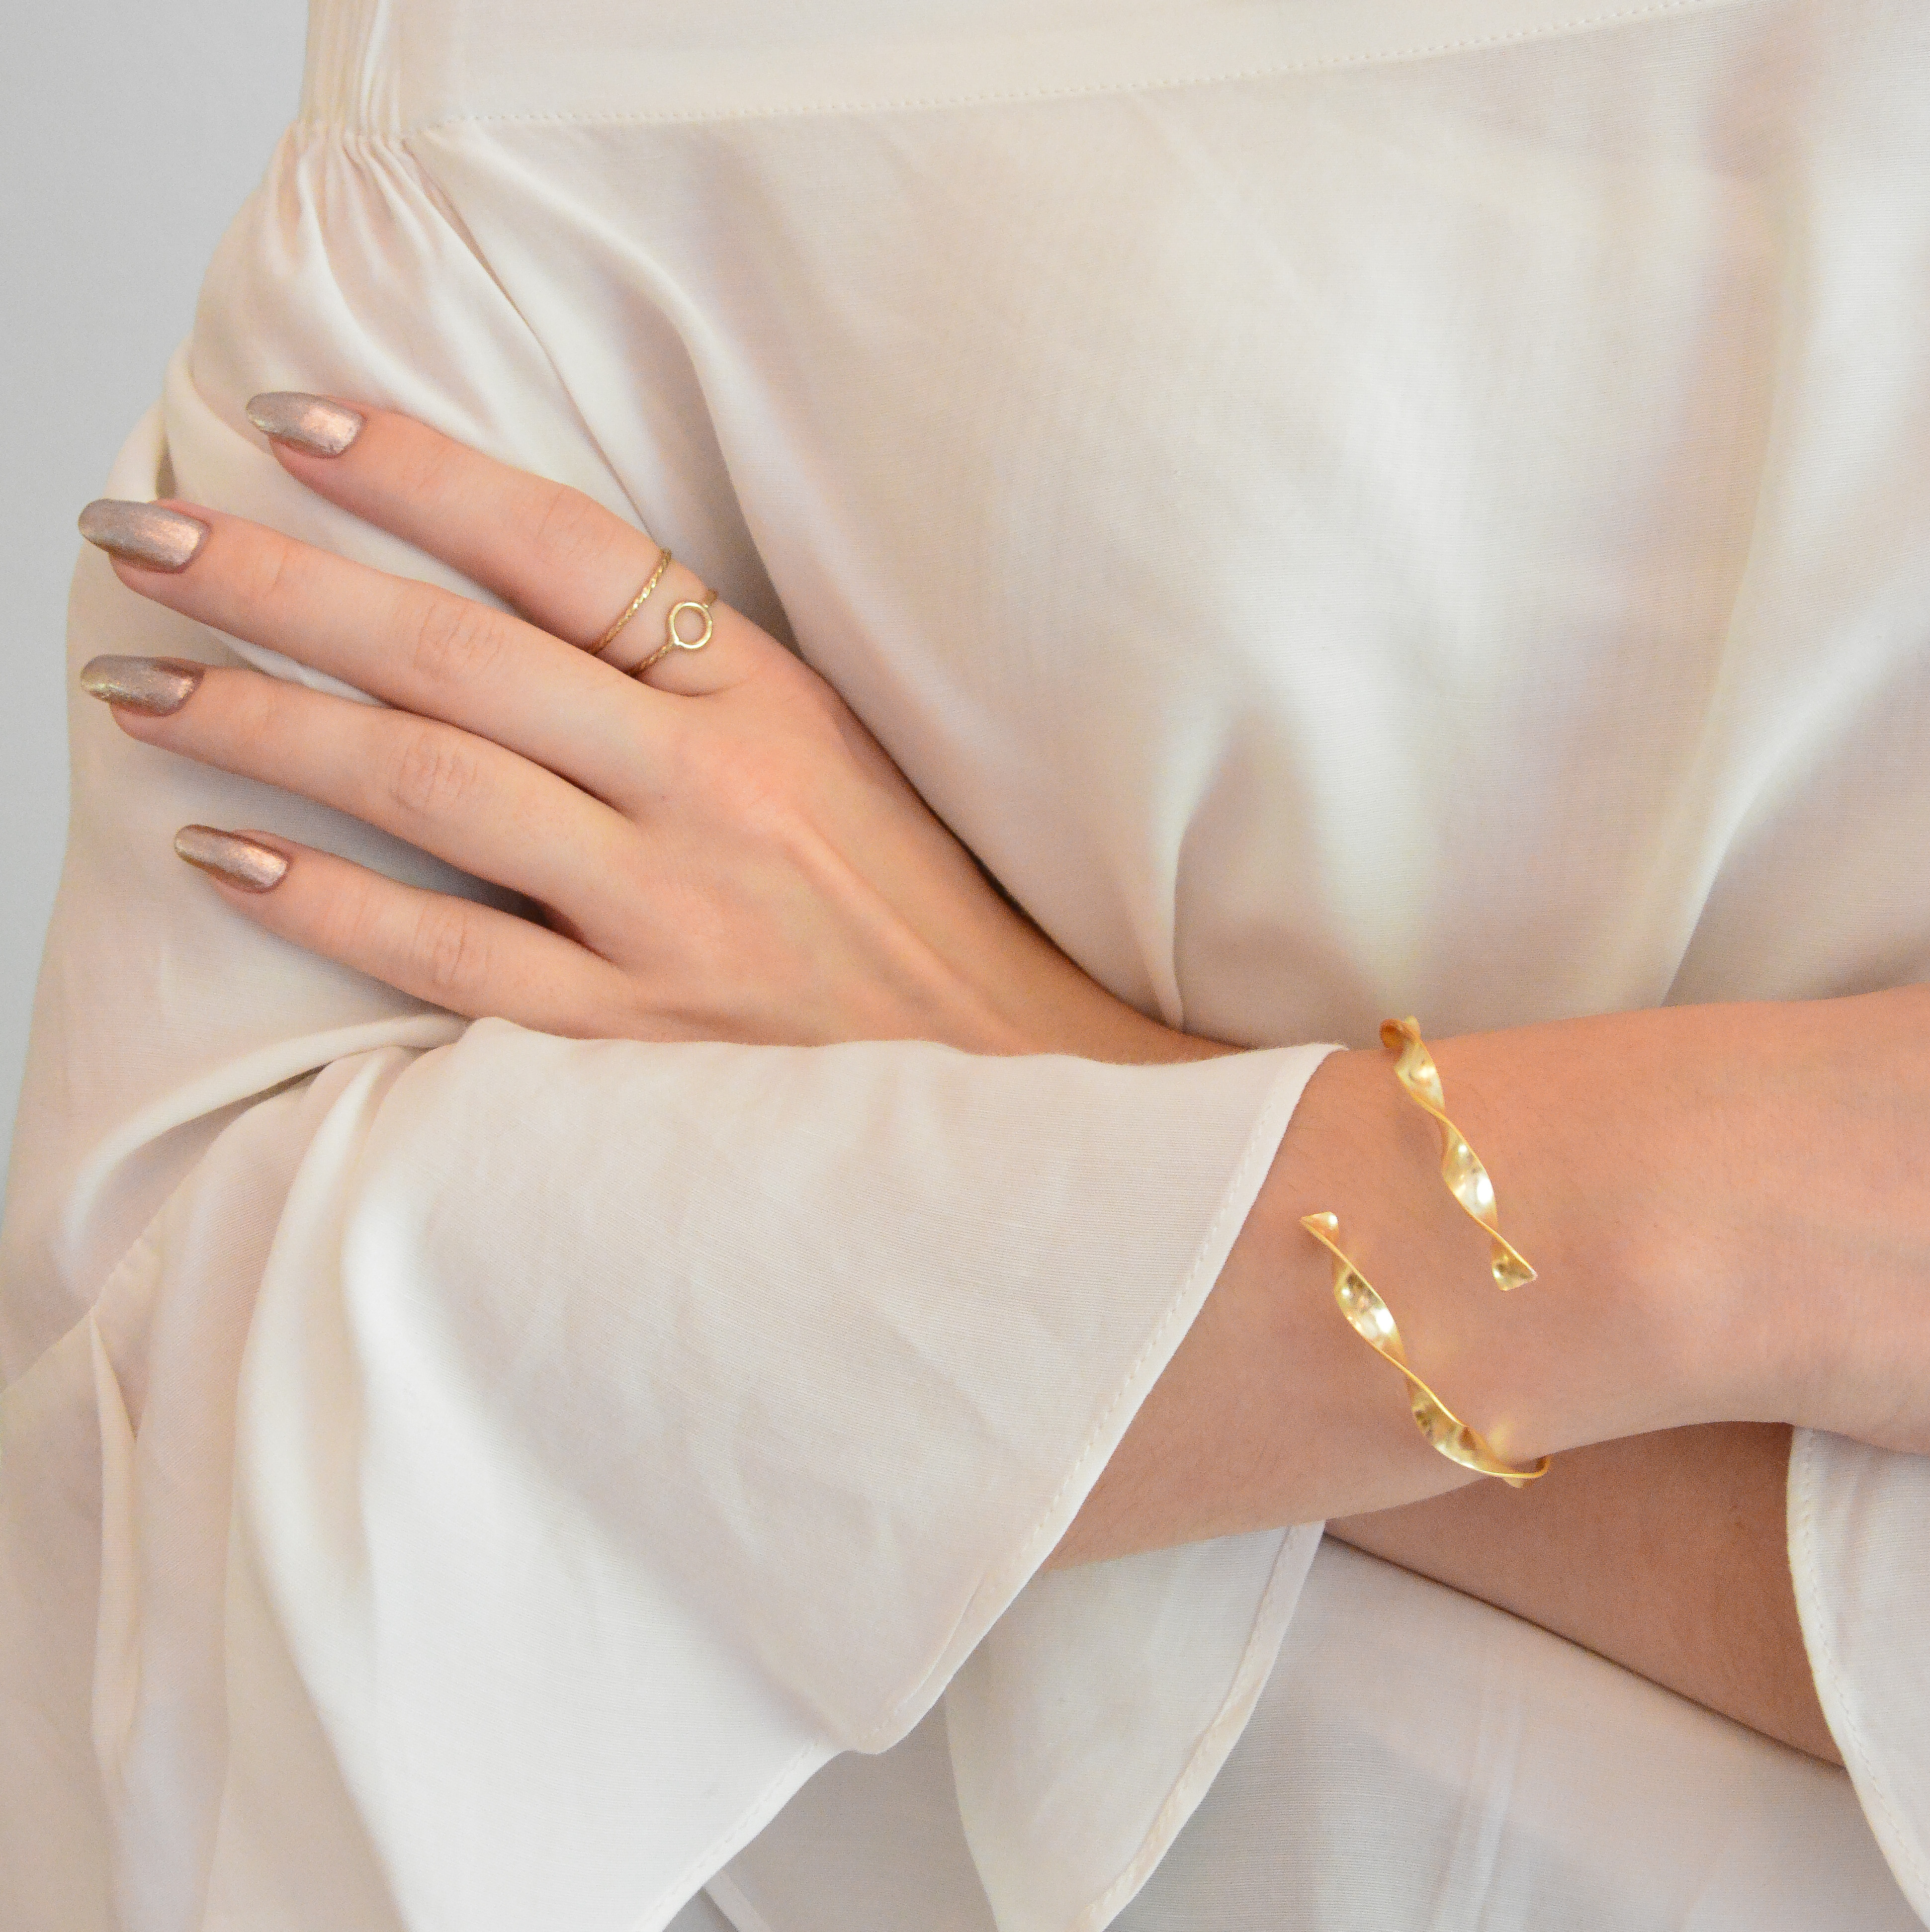
- I started by measuring my wrist and then I cut out a piece slightly longer than that as a margin. Then I started twisting holding one end with my hand (and a fabric piece in between) and the other with my parallel pliers. I also did some twisting holding one end with my flat nose pliers instead of my hand.
- It was a bit challenging but after a bit of work I had a somewhat evenly twisted piece of wire
- I shaped the twisted wire around a small glass jar with a fitting diameter for a nice round shape.
- Finally, I cut off a small wire piece on each end for them to appear more symmetrical. I used my metal file for the last time and then I decided to split the two ends. I also decided to minimize the size of the bracelet once I took it on, as it was a bit to loose fitting for my taste.


Note: With a soft wire it’s easy to take the bracelet on and off, just make sure to split the wire like I did to not ruin the rounded shape. This is similar to how you would split a jump ring.
I hope you enjoyed this DIY as much as I did making it, I have a lot more ideas for metal jewelry so I might make more similar DIY posts in the future.
Thank you so much for reading!
Do you have any questions or ideas? Feel free to write in the comment section below. If you liked this post, please don’t forget to click the like button below. To receive an email when I publish something new; subscribe to my email list by clicking the follow button below (or click here.) If you’d like you can also use the buttons below to share this post.
For previews of coming posts and more fashion, check out my Instagram!
-Frida
[instagram-feed]
One Reply to “DIY Metal Jewelry Using Wire And Brass Strips”
Åh, vad snyggt👍😄! Jättefina bilder!❤️