DIY Fridays (the 13th): Marni Inspired Brooches
Marni And Jewelry
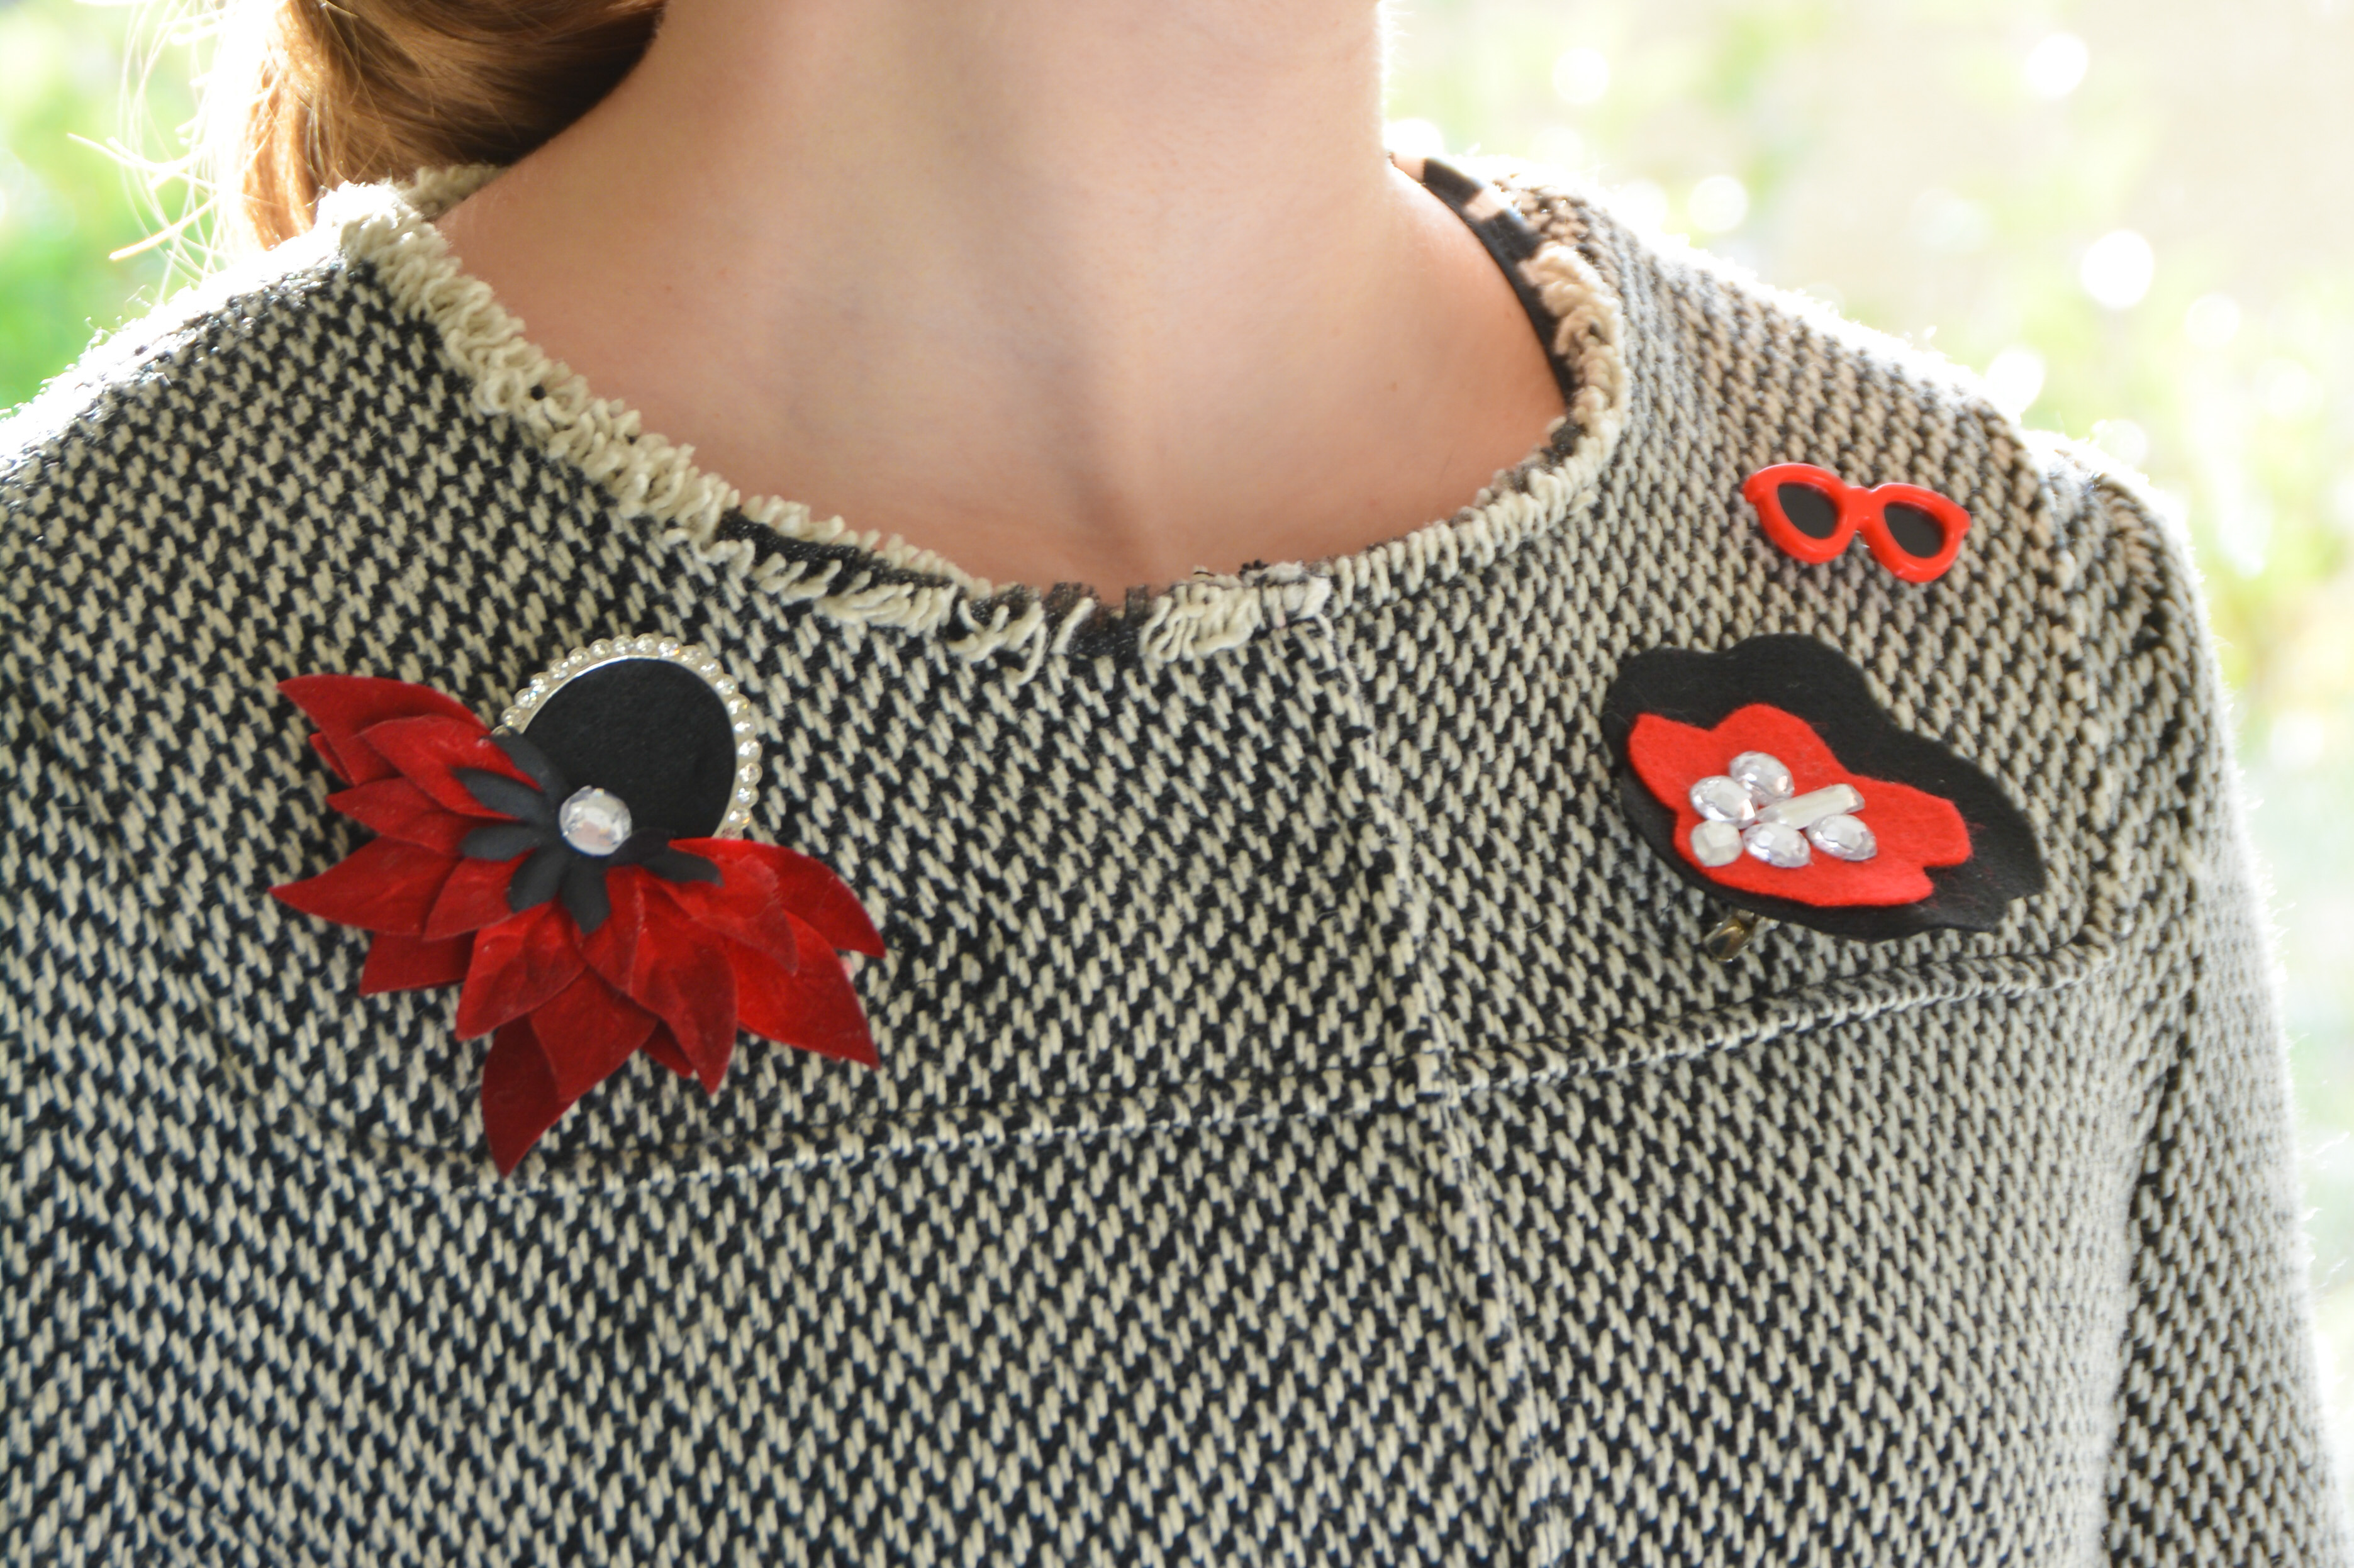
Many years ago when I first discovered Marni’s beautiful jewelry, I immediately fell in love. Every piece is so unique and interesting, and yet they’re all so simple. I’m really into brooches right now and because it’s a growing trend I decided to make some for myself. I ended up making two brooches and I’m so pleased. The felt flower brooch is inspired by this one, and the other one isn’t inspired by a specific piece, but more by the label itself. The small one with a pair of sunglasses is my mom’s old brooch. Today I’m going to show you how I made these matching brooches. Hopefully I’ll get you inspired!


What I Used To Create My Marni Inspired Brooches
Because I’m repurposing many old specific pieces, my brooches probably won’t look the way yours will. Therefor I’m not showing you a picture of the things I used, but here is a list of what you might need(and some of the things I used):
- Scissors
- Set of pliers
- Needles
- Jewelry glue
- Thread
- Safety pins
- Brooch bases
- Fabric
- Fabric flowers or similar things
- Feathers (I had planned to use that at first)
- Metal pieces, I used a rhinestone metal frame for one of the brooches.
- Rhinestones, embedded in metal or not.
- Other things you can use are pieces (like the small sunglasses) that you like, but you have no use for, chains, pearls, leather and so much more.
Now that we’ve got that covered, let’s start creating!
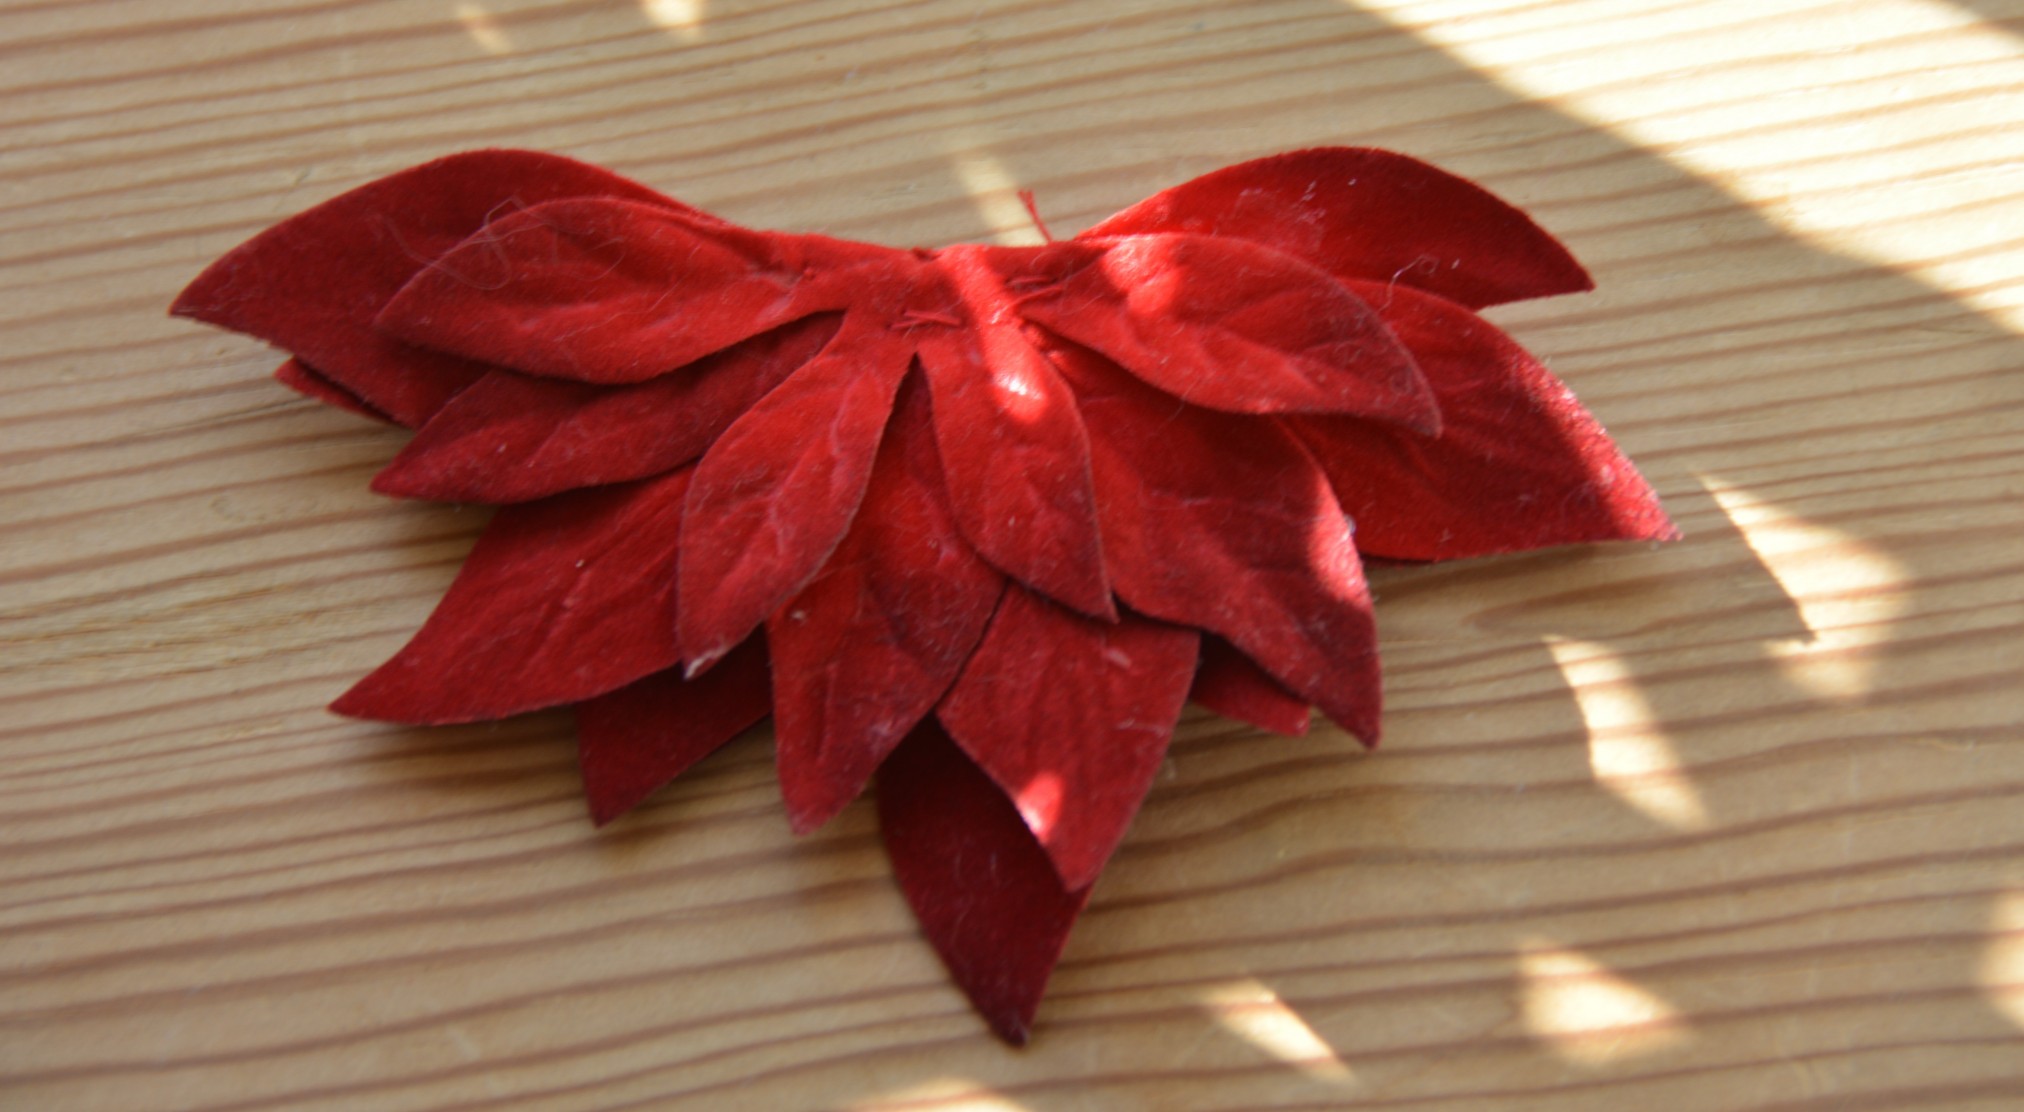
I’m starting with the felt flower brooch, here are the steps and the pieces I used:

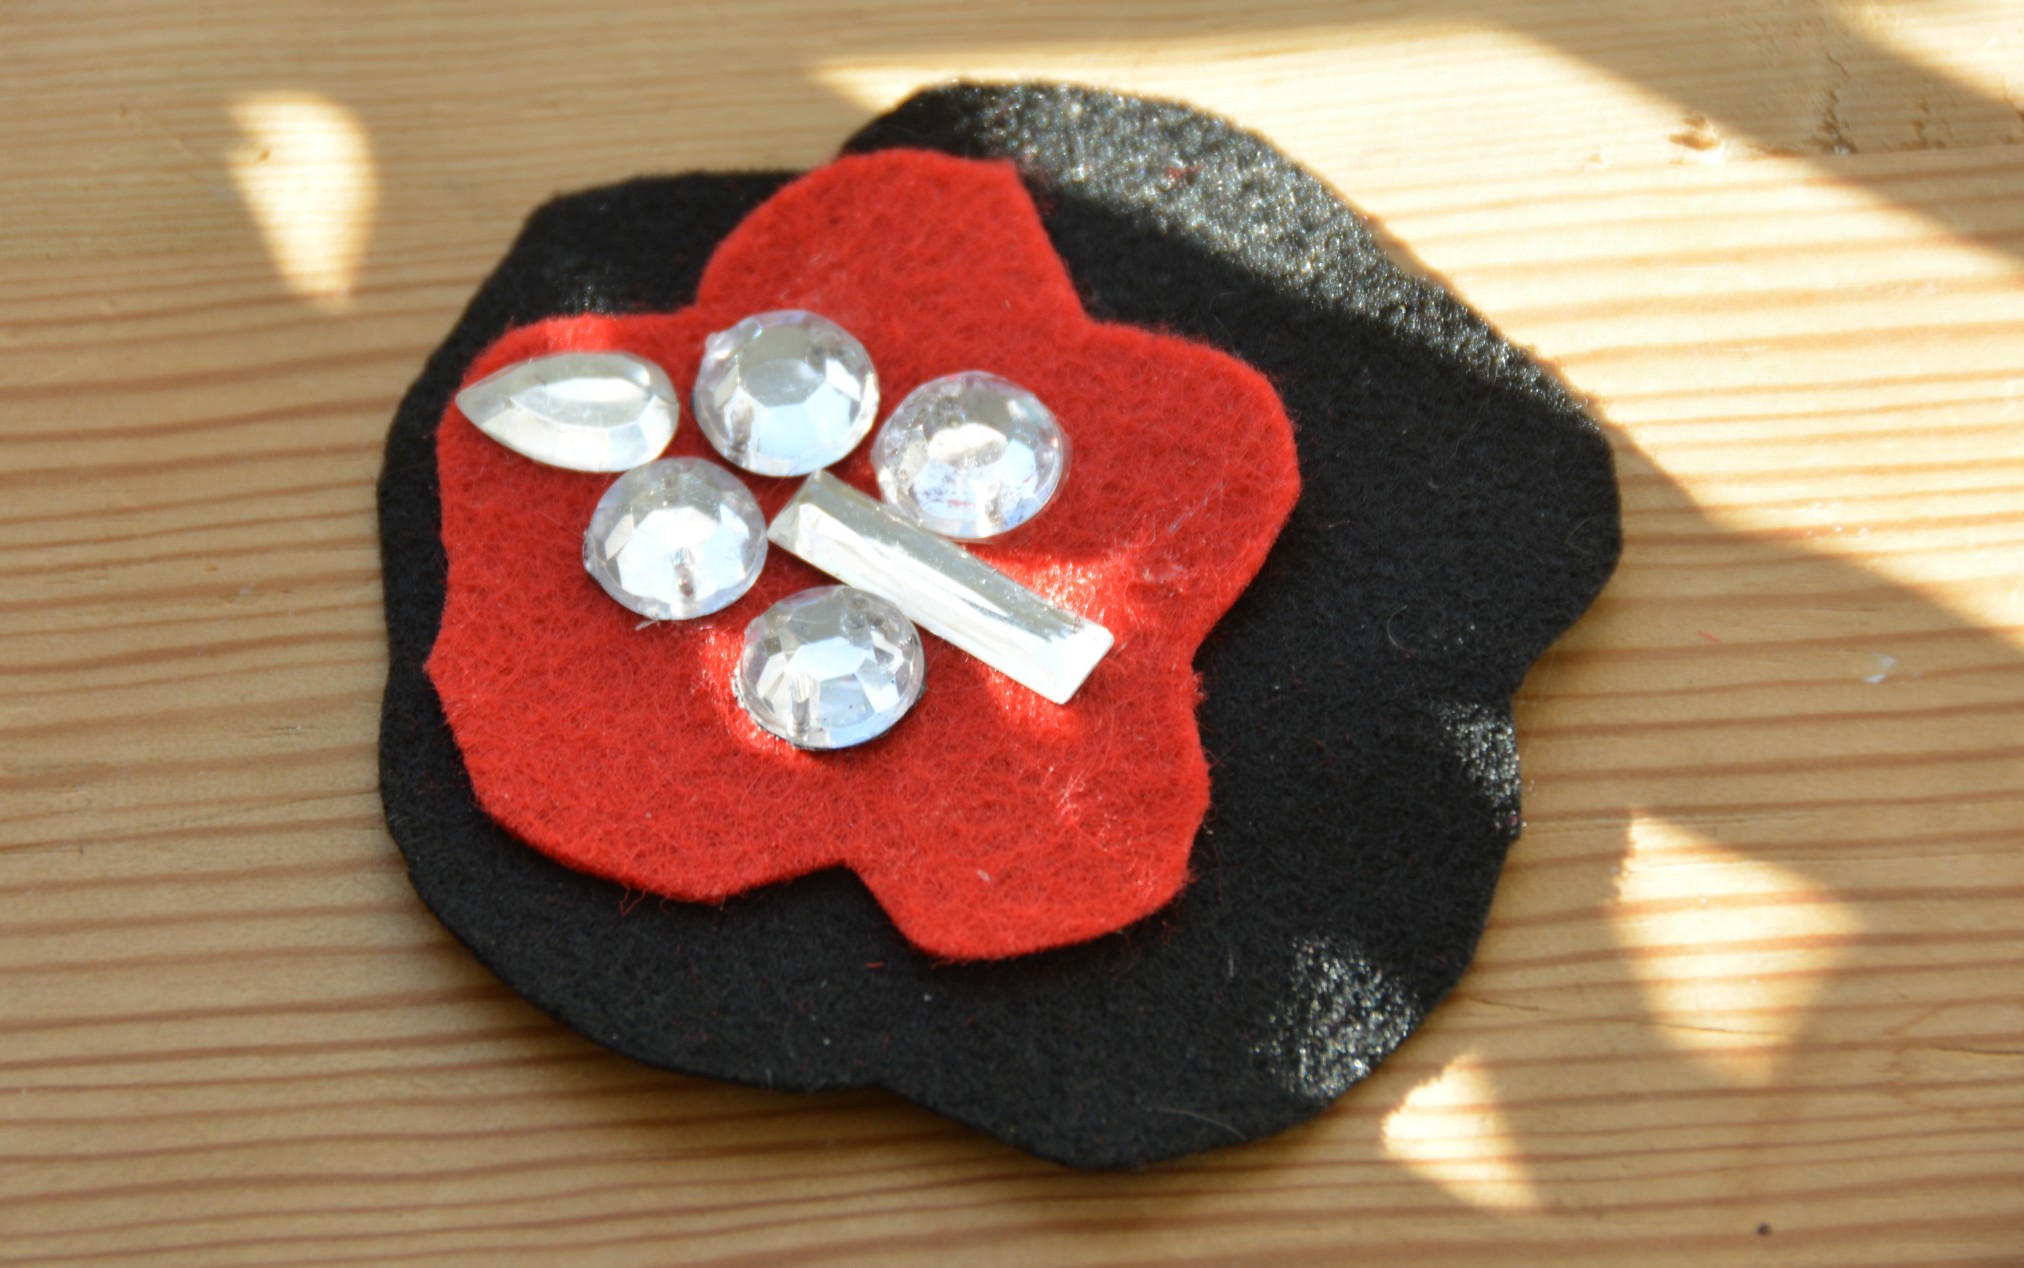
- The first thing I did was to cut my black and red felt into the flower shape I wanted. I made the red one a bit smaller, because I didn’t have as much of that fabric.

2. Once I was happy with the shapes I places the red piece on the black, a little off center. Then I used a red thread to stitch them together.

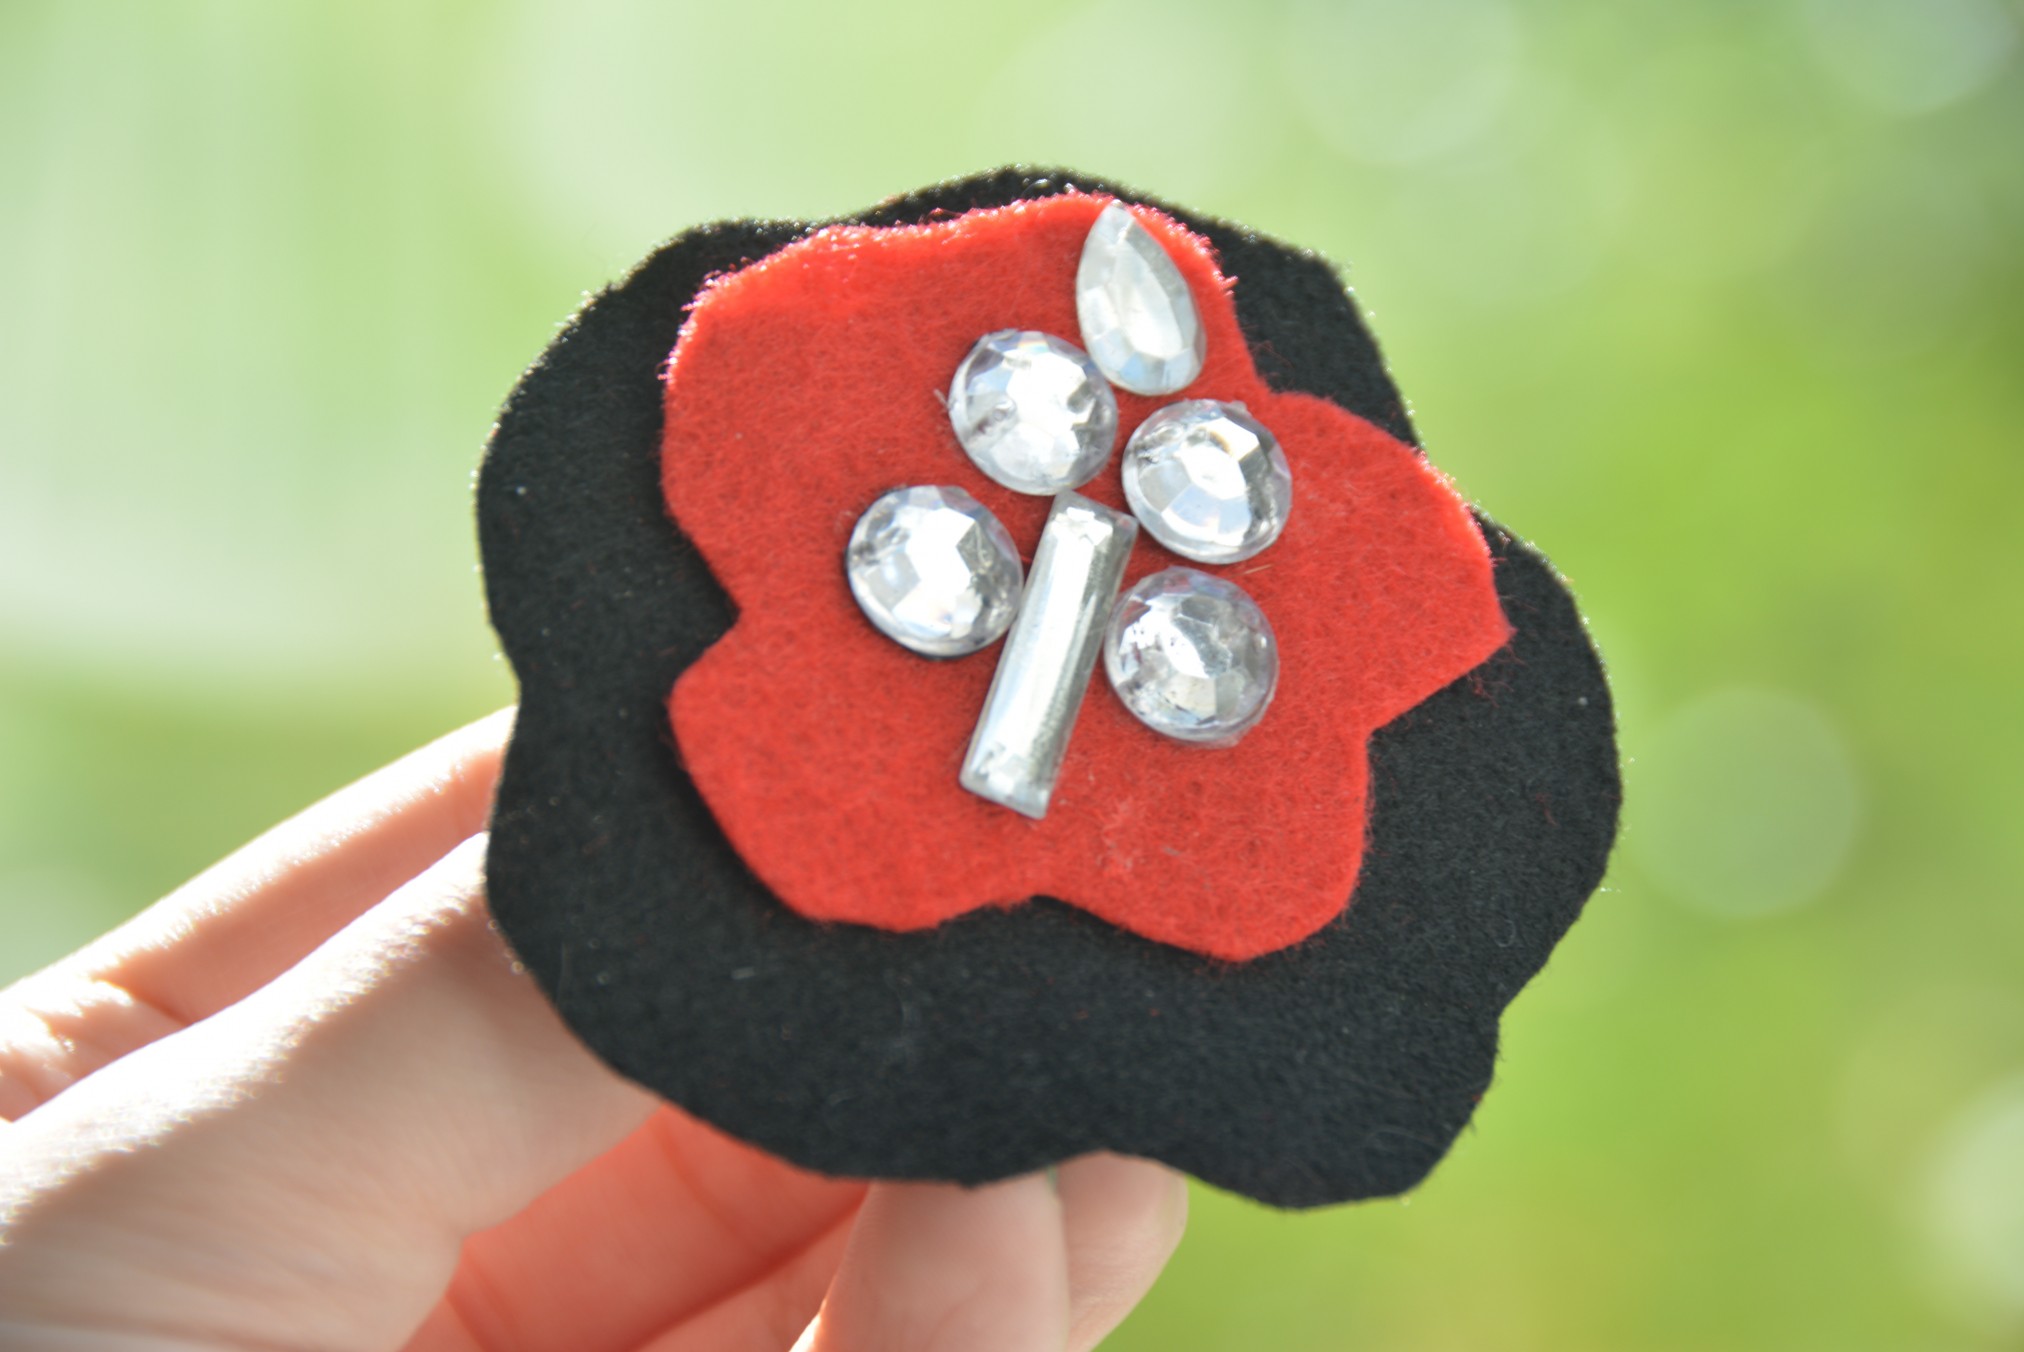
3. After tying a knot at the back, I cut off the ends of the thread. I then took my rhinestones, placed them how I wanted them, and finally glued them on.
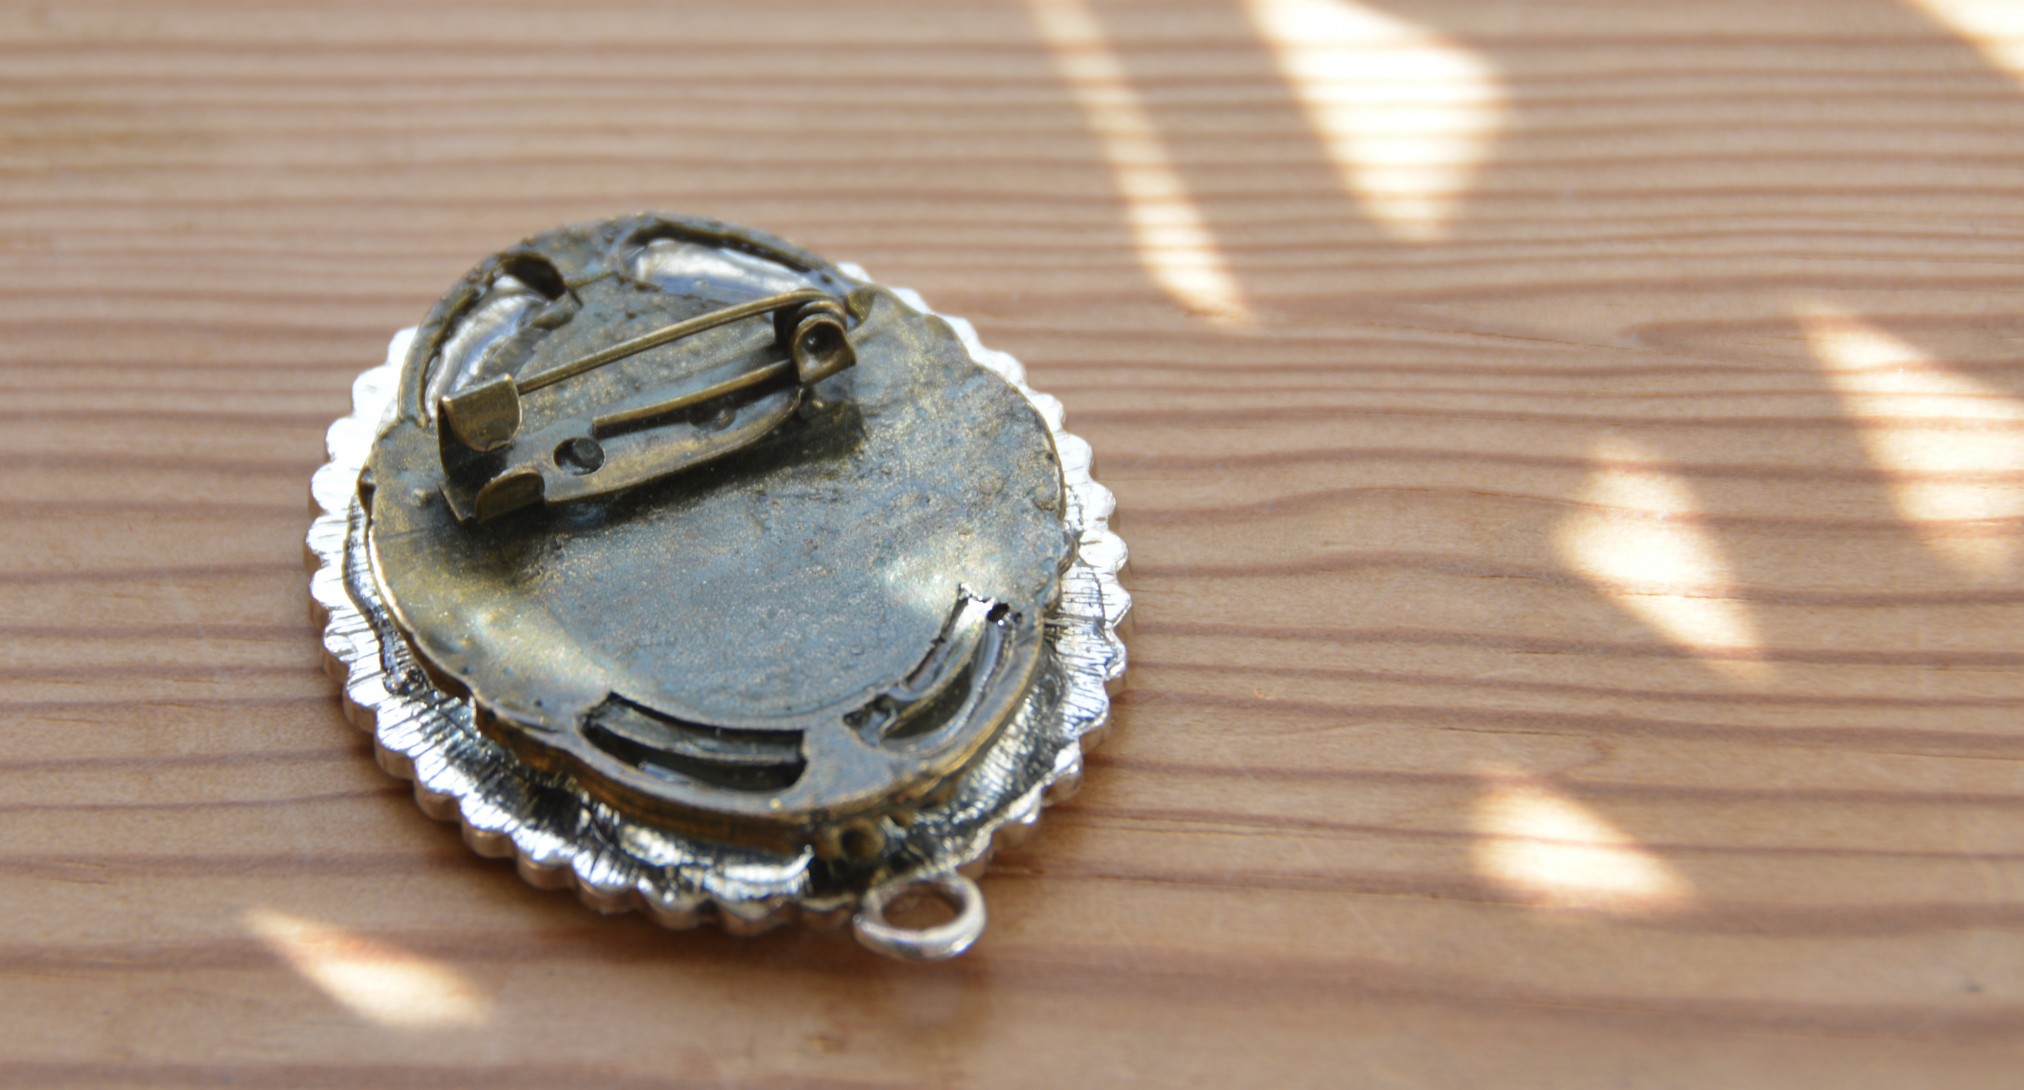
4. The last thing I did was to glue on the brooch base at the back. As you can see below, this base can also be used as an hair accessory.

That was it! I really loved how this one turned out, especially with the easy process in mind.
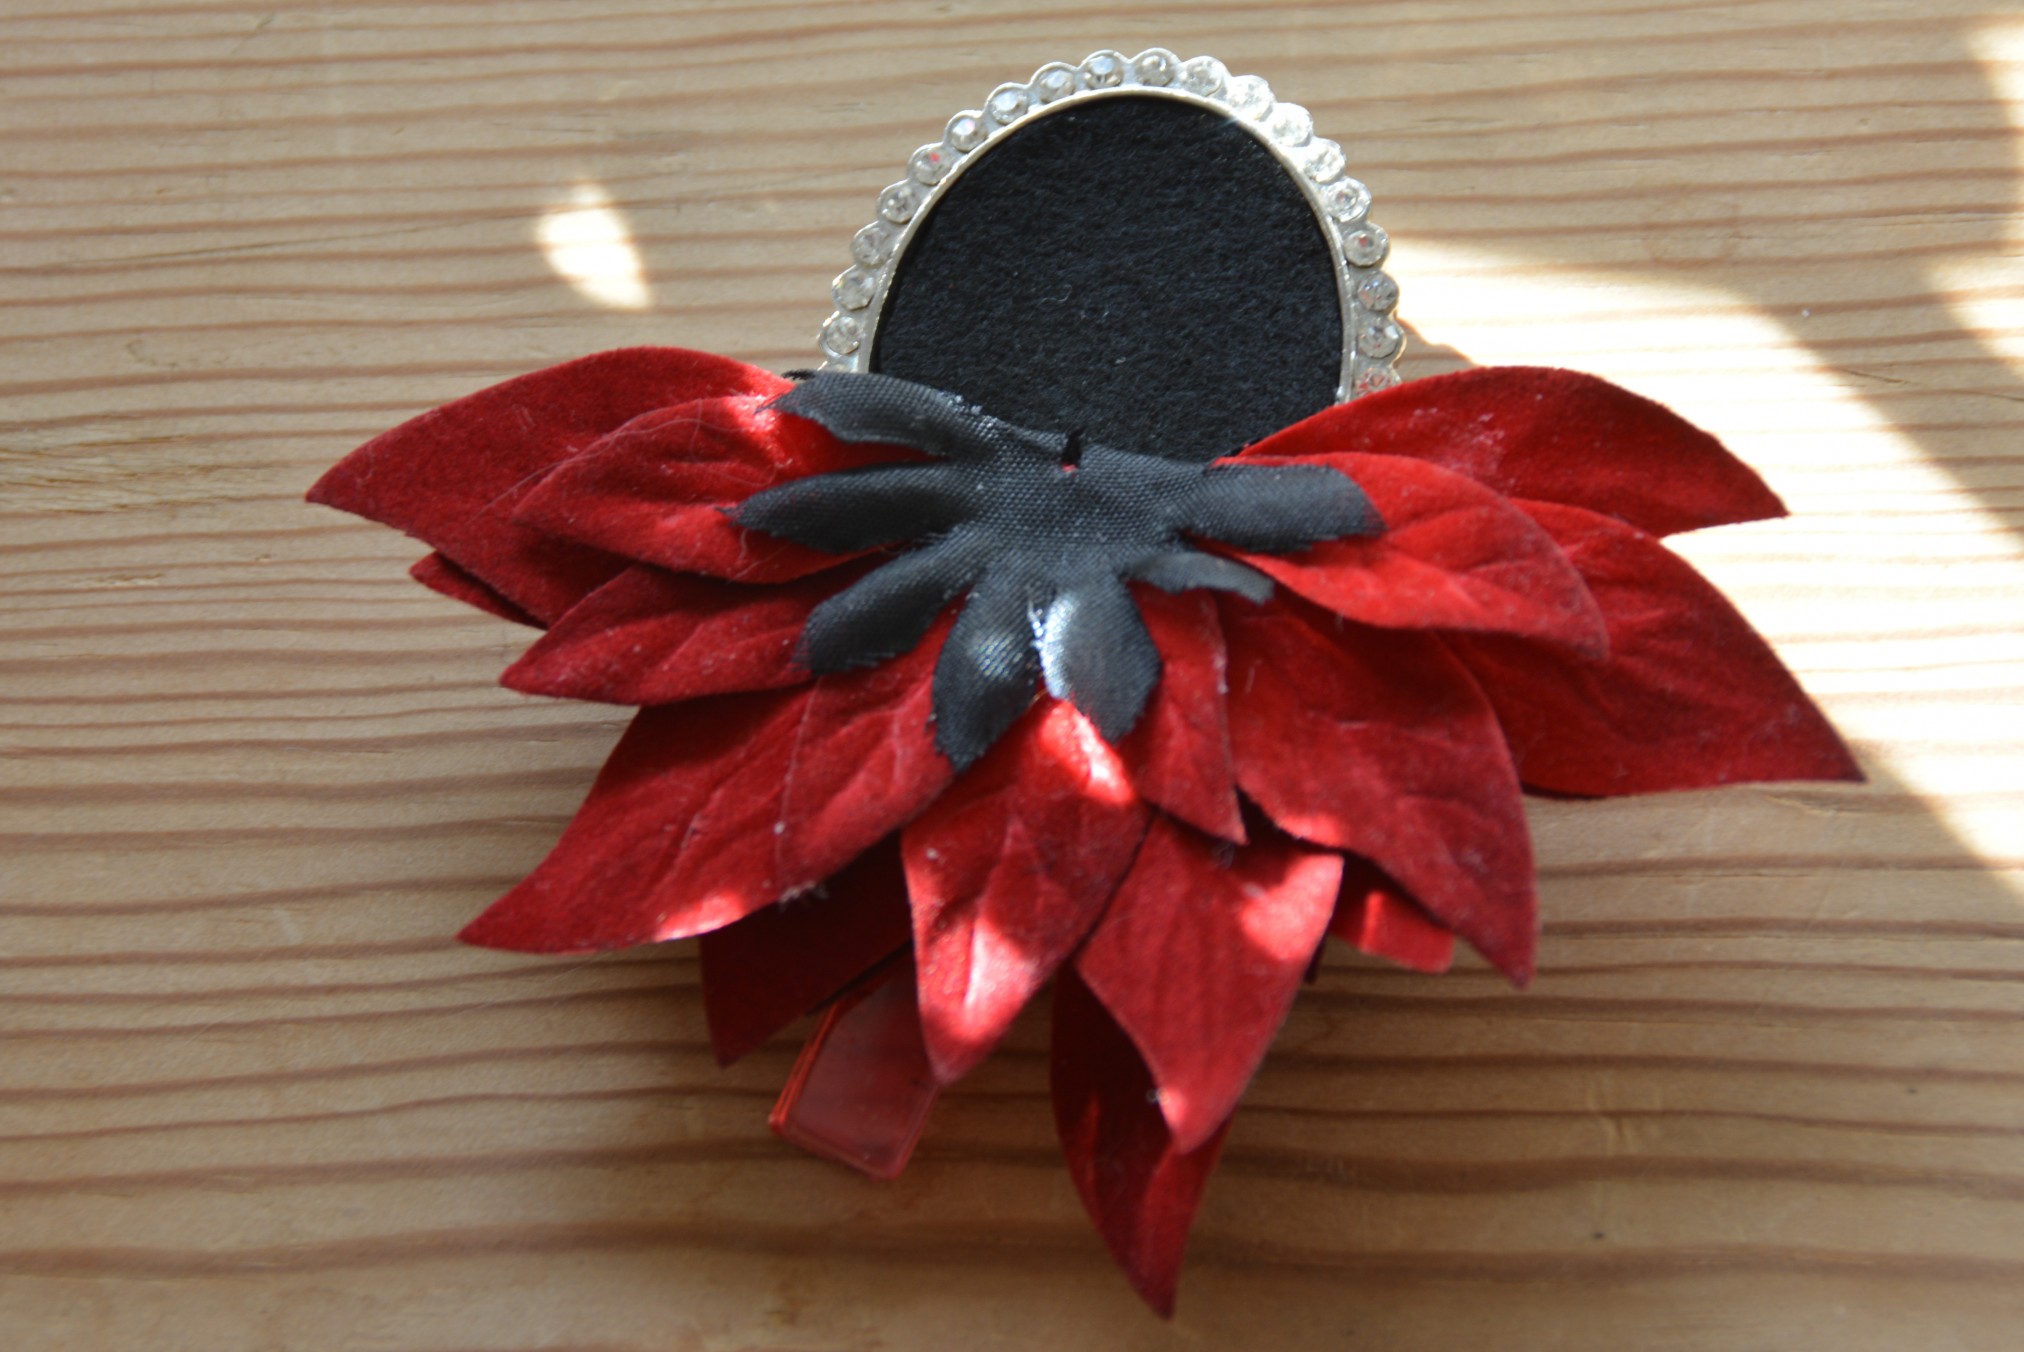
Next we have the frame flower brooch, here are the pieces and how I made it:

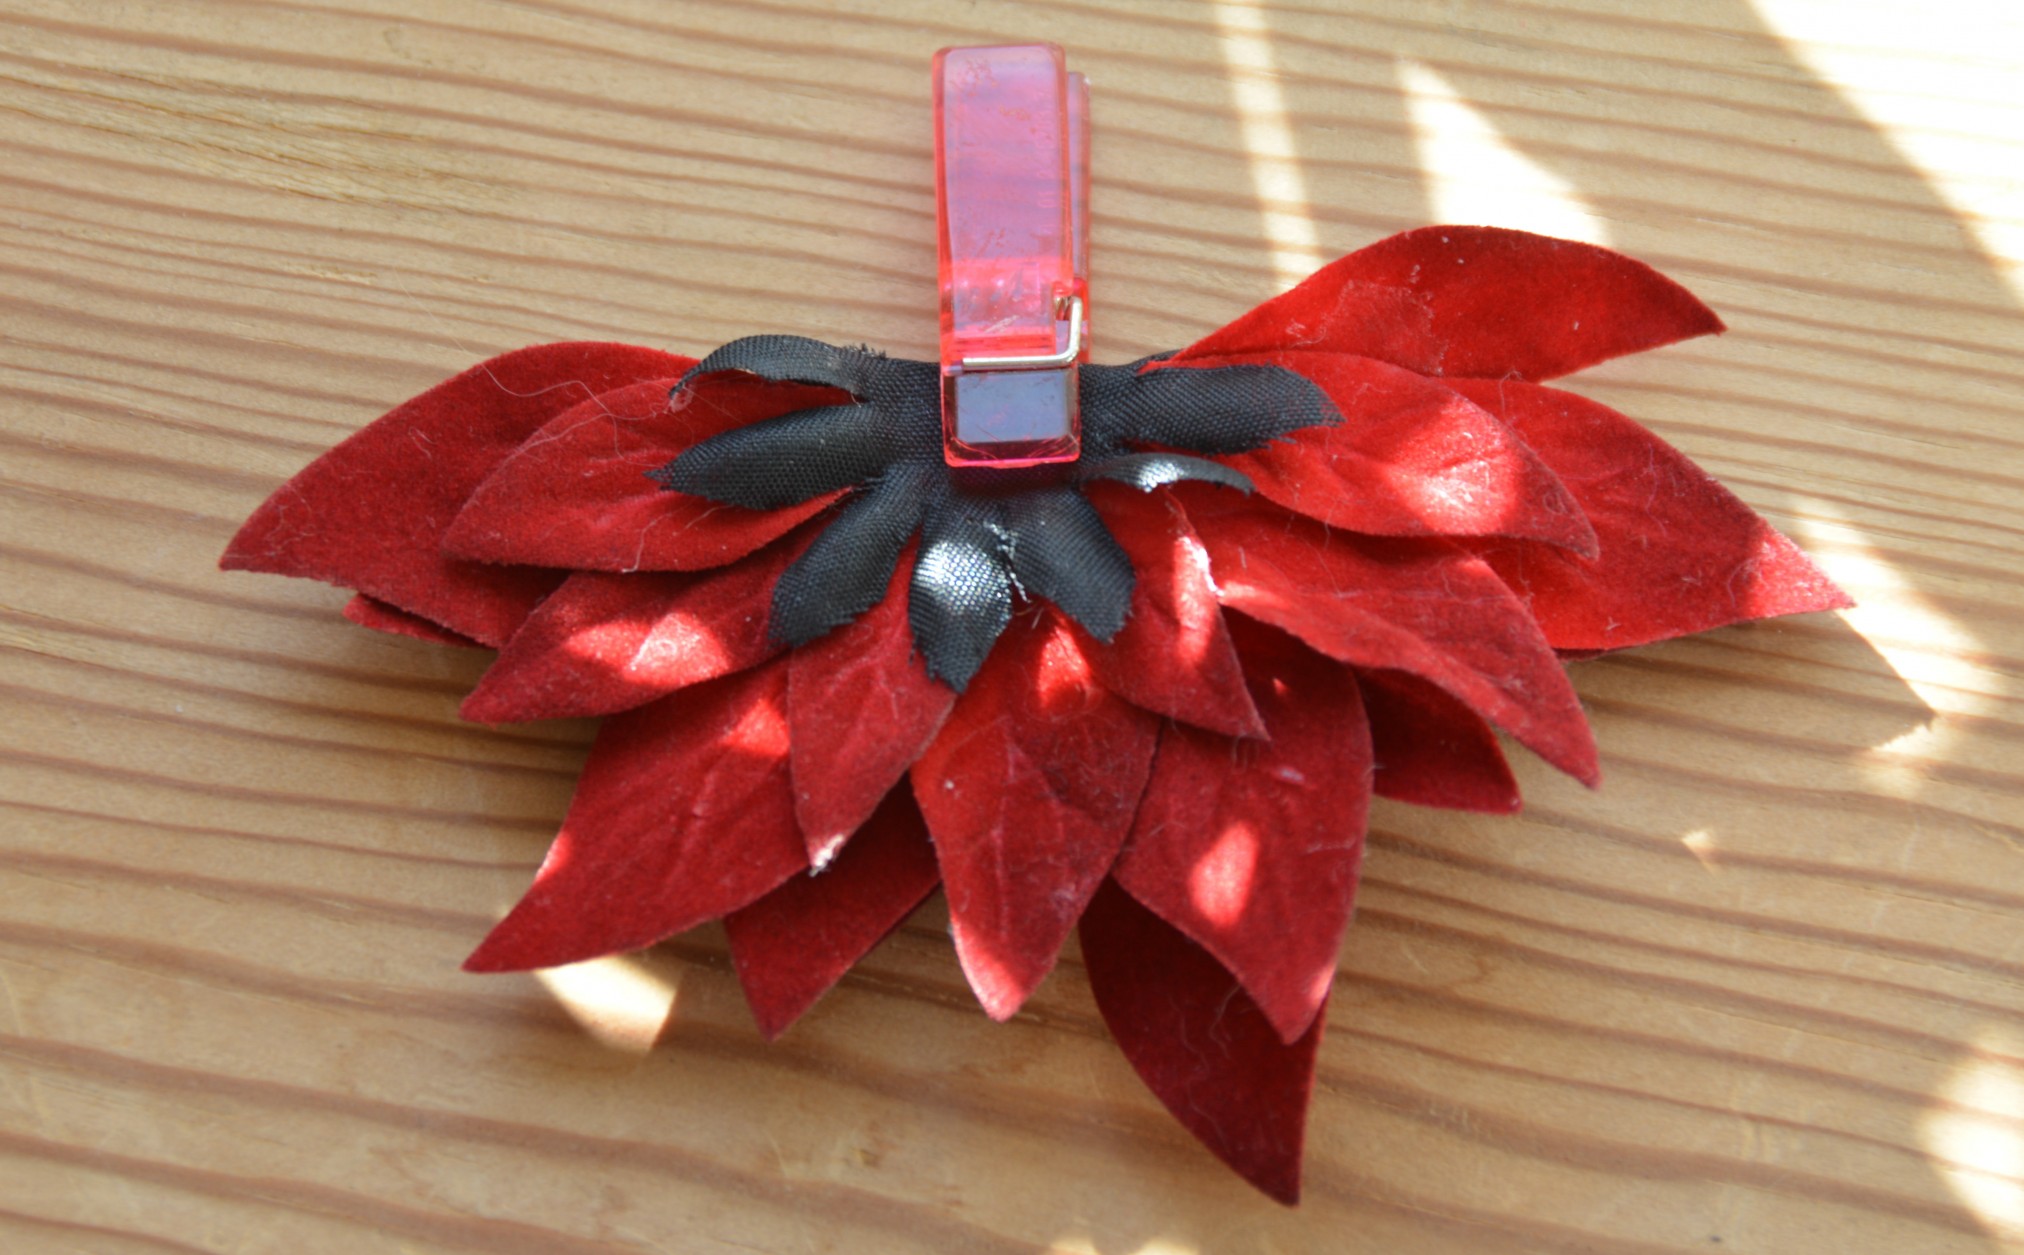
- To make this second brooch I first took the red fabric flower, folded it in half and then added some glue in between. By the way, I’m using small clothing pins to hold the pieces in place while the glue is drying.
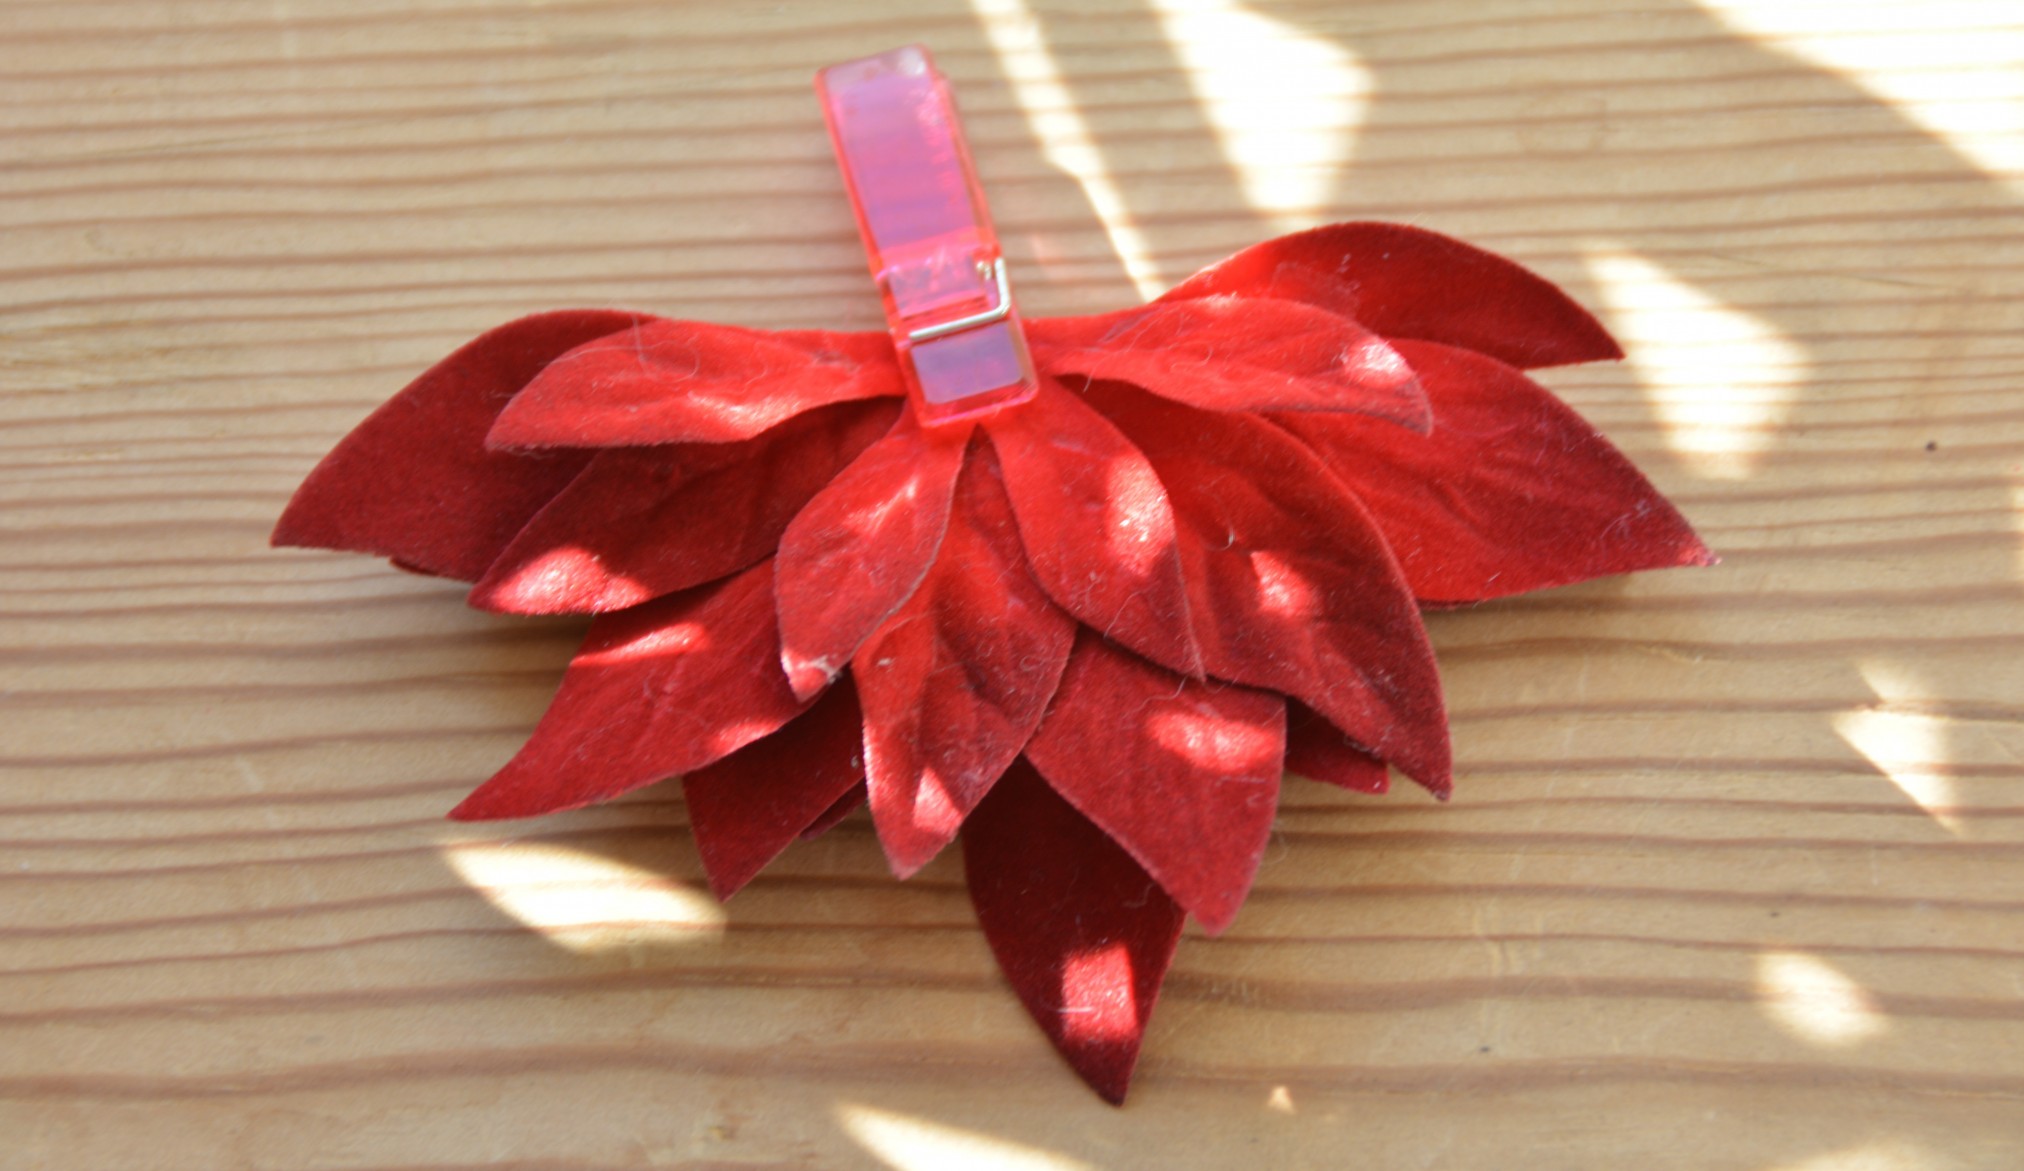
2. Next I took my red thread again and made a few stitches, to secure the flower even further.
3. Then I added the small black flower by folding it over the red, and then I glued it in place. Once again, I added a small clothing pin while the glue was drying.
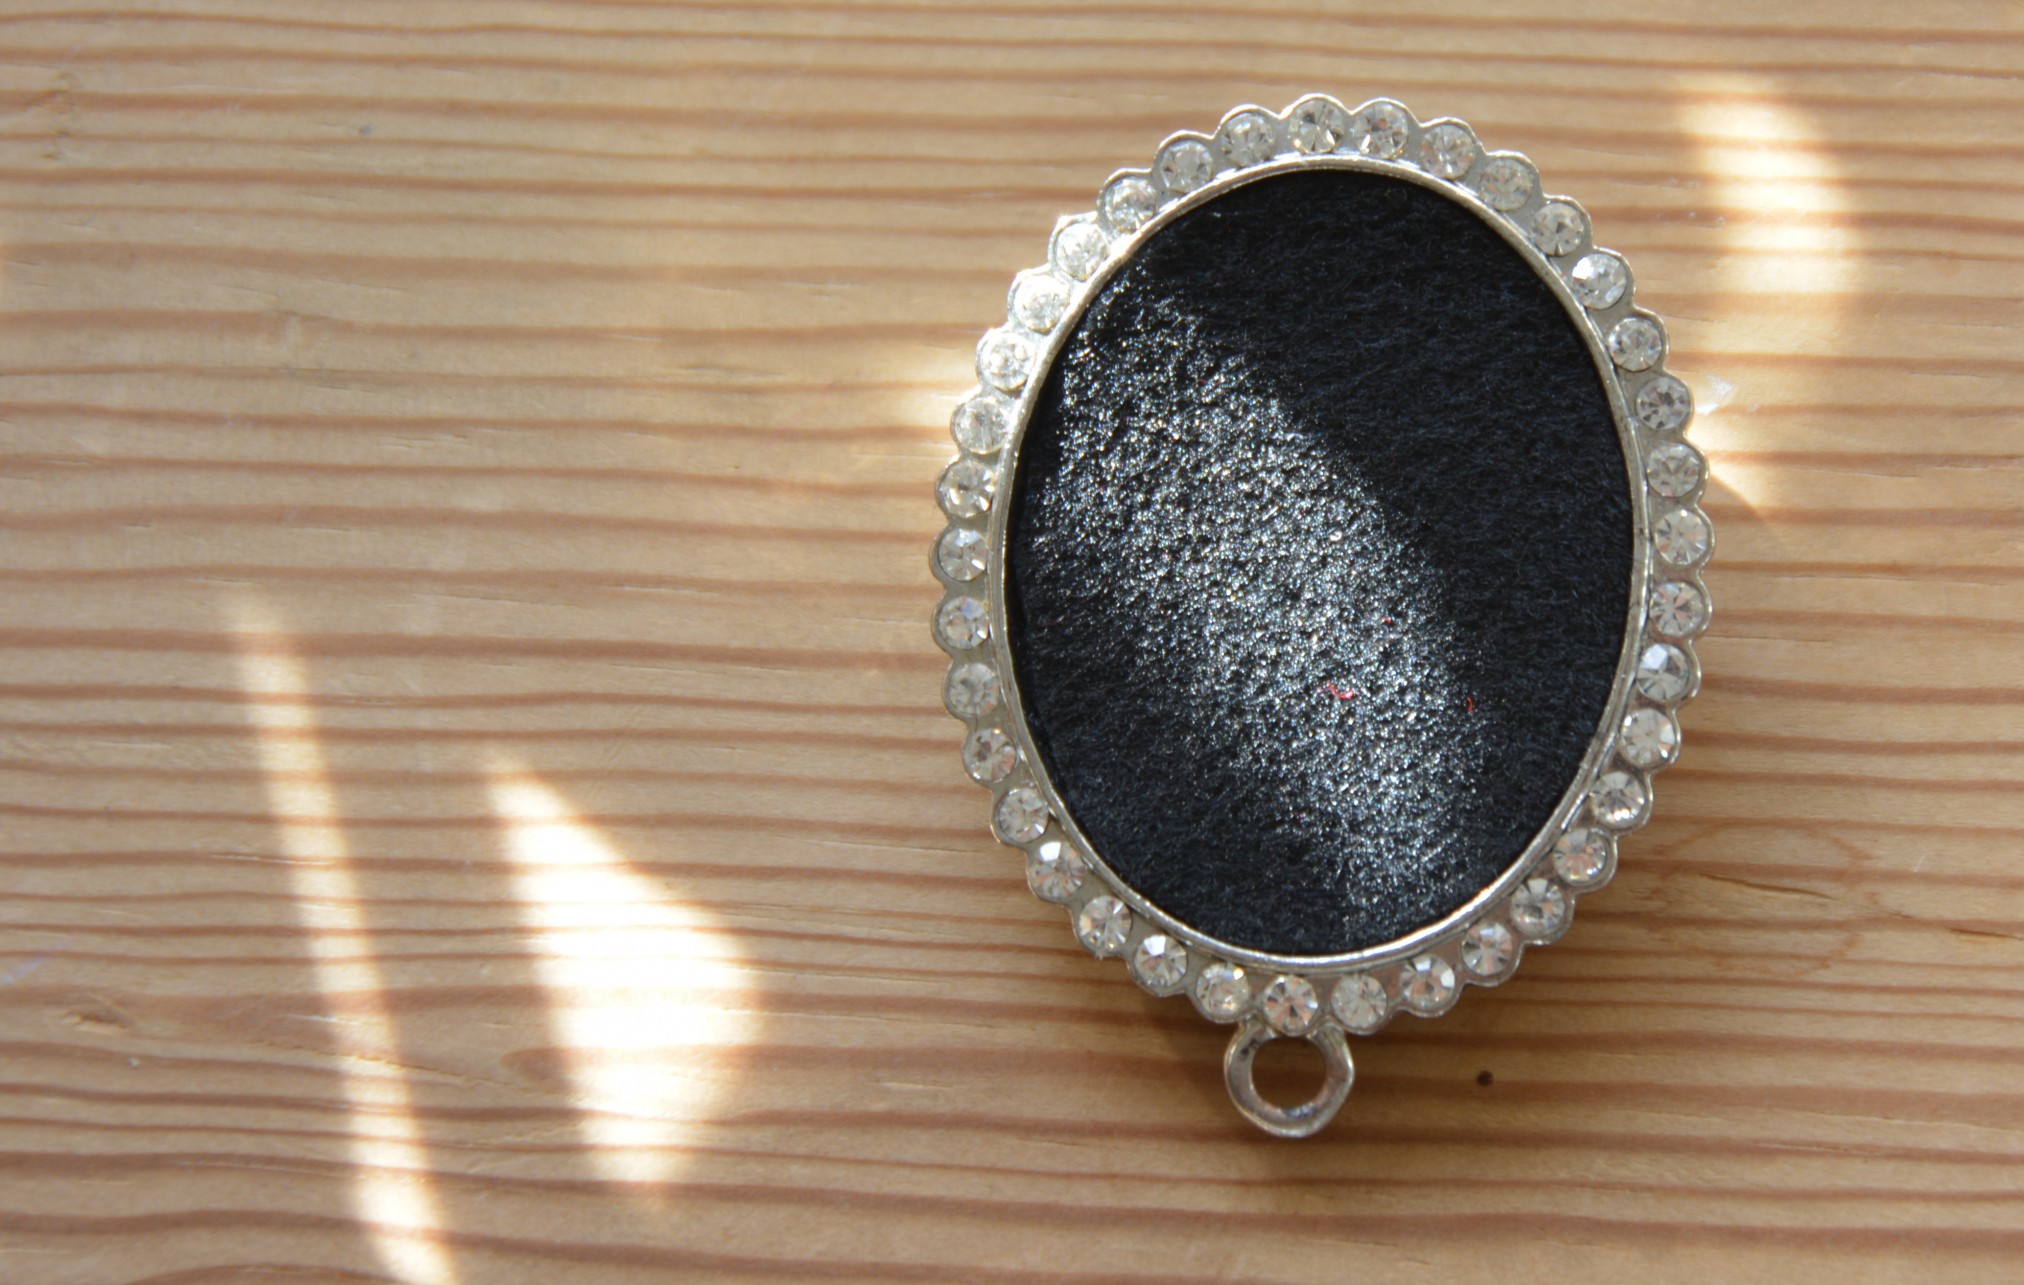
4. While the glue on the flower piece was drying I took my brooch base and glued it to the back of my rhinestone frame.
5. I also cut out some black felt in an oval shape and glued that to the front of the frame.
6. When the glue on the flower piece was finally dry, I glued it to the frame a little bit lower than halfway.
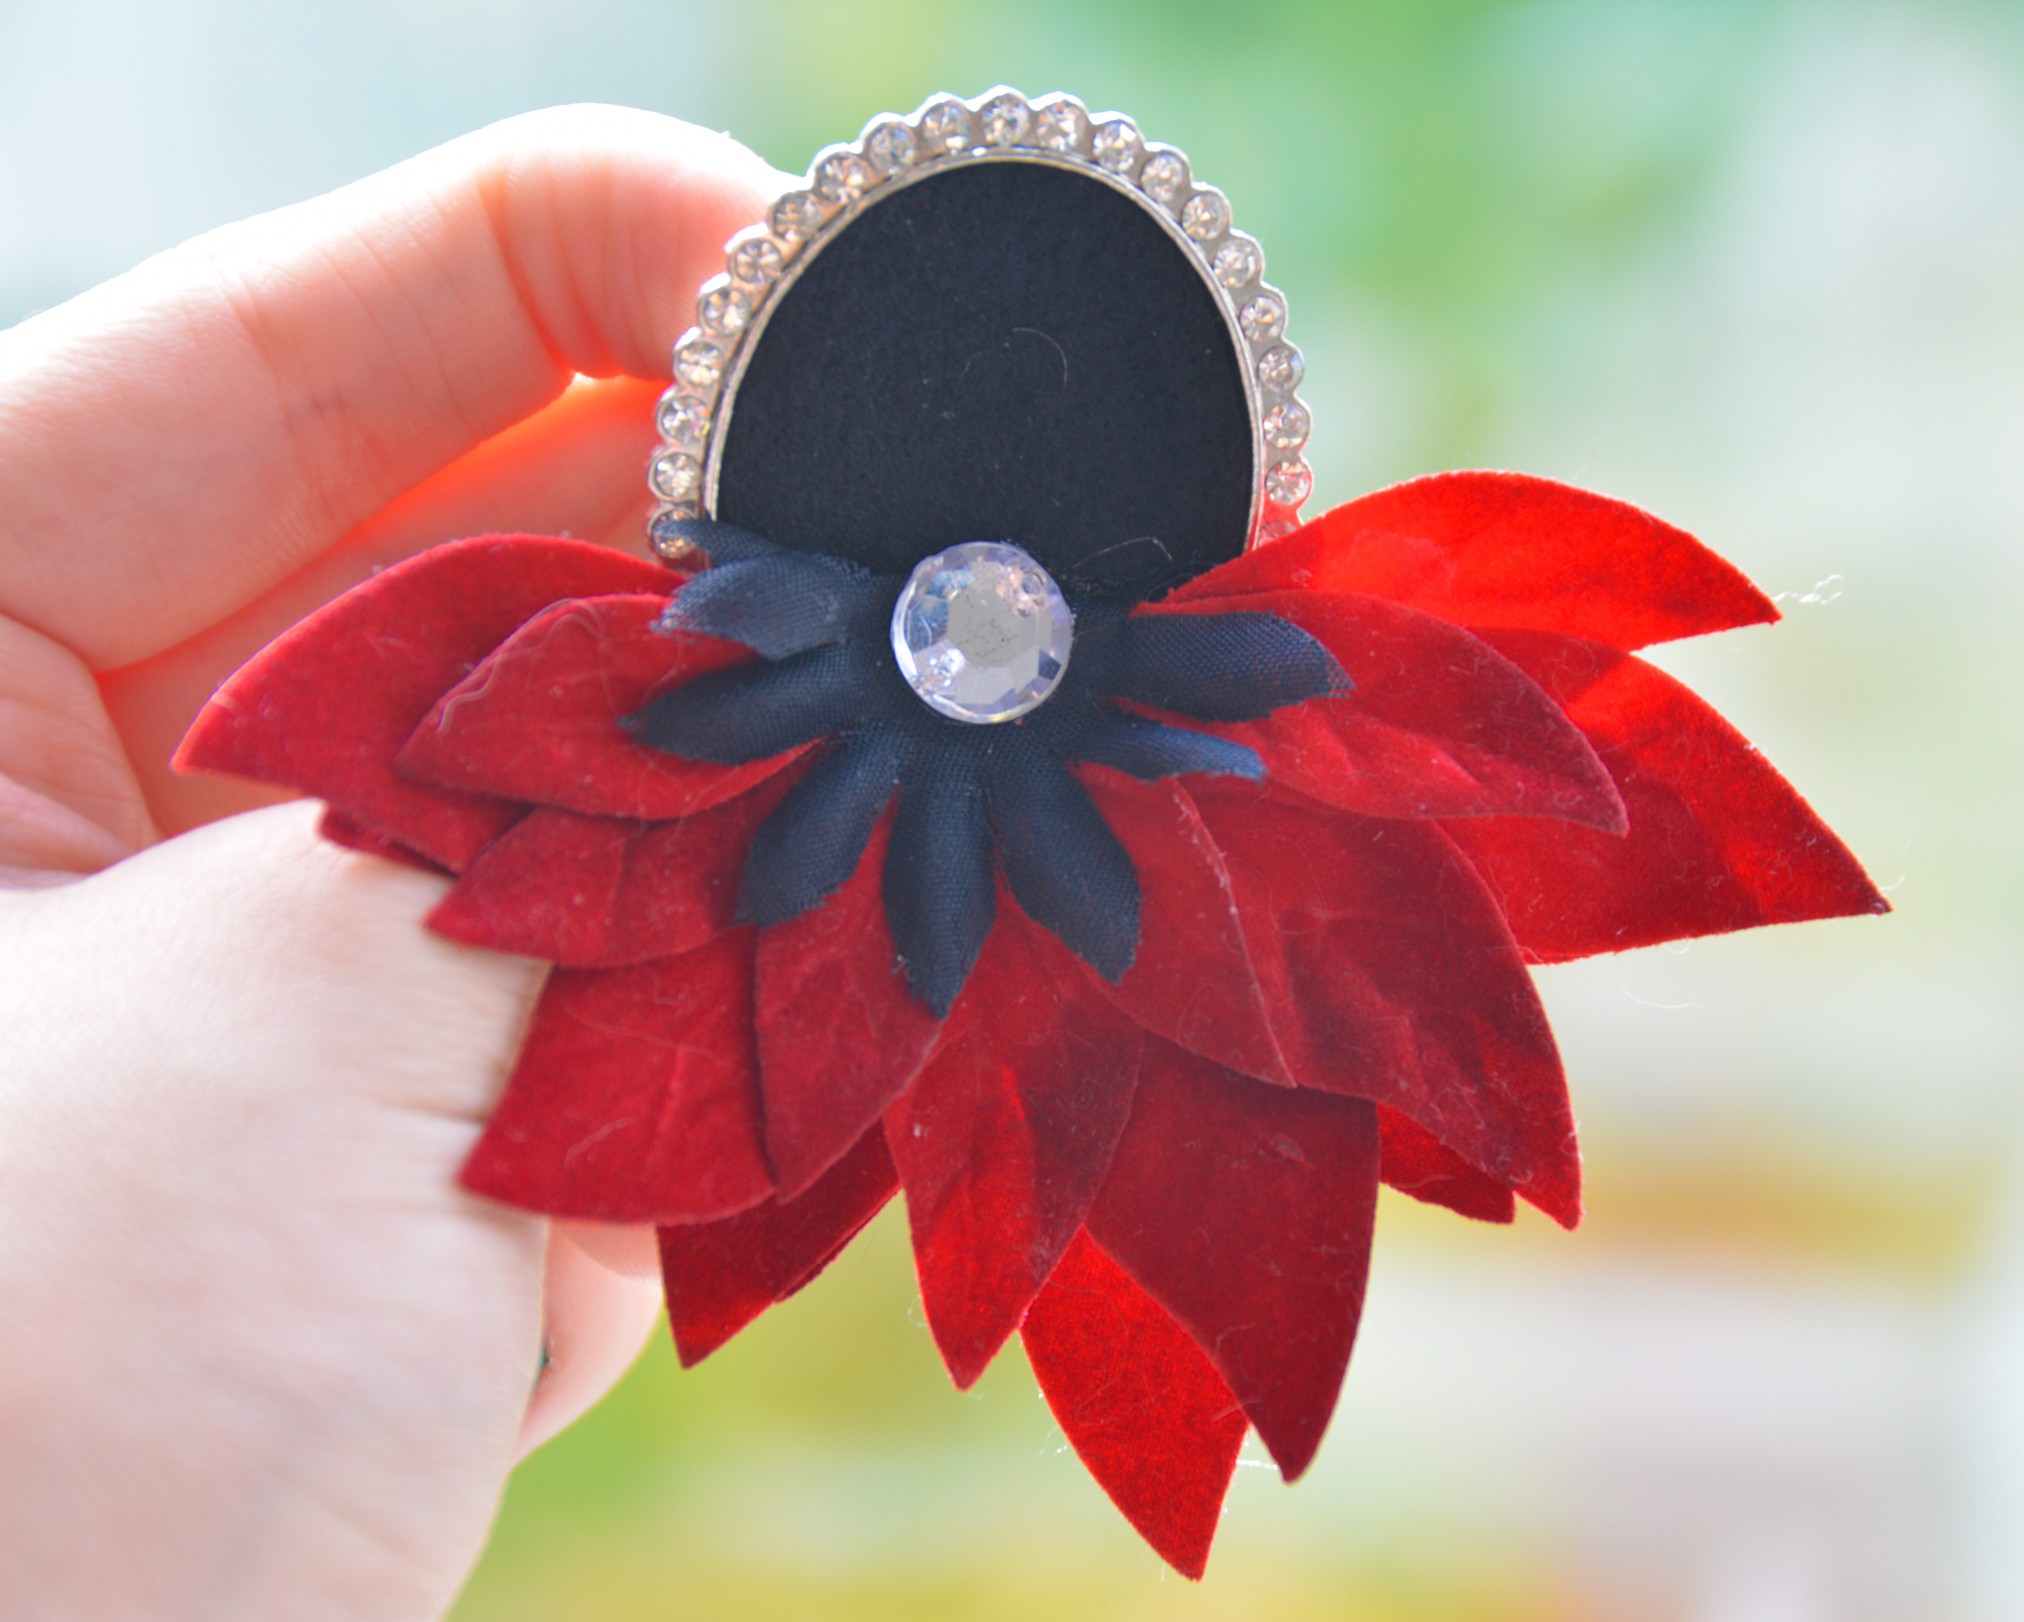
7. Last and probably least, I added a rhinestone to the center of the flower. Although it is small, it makes all the difference, don’t you think?
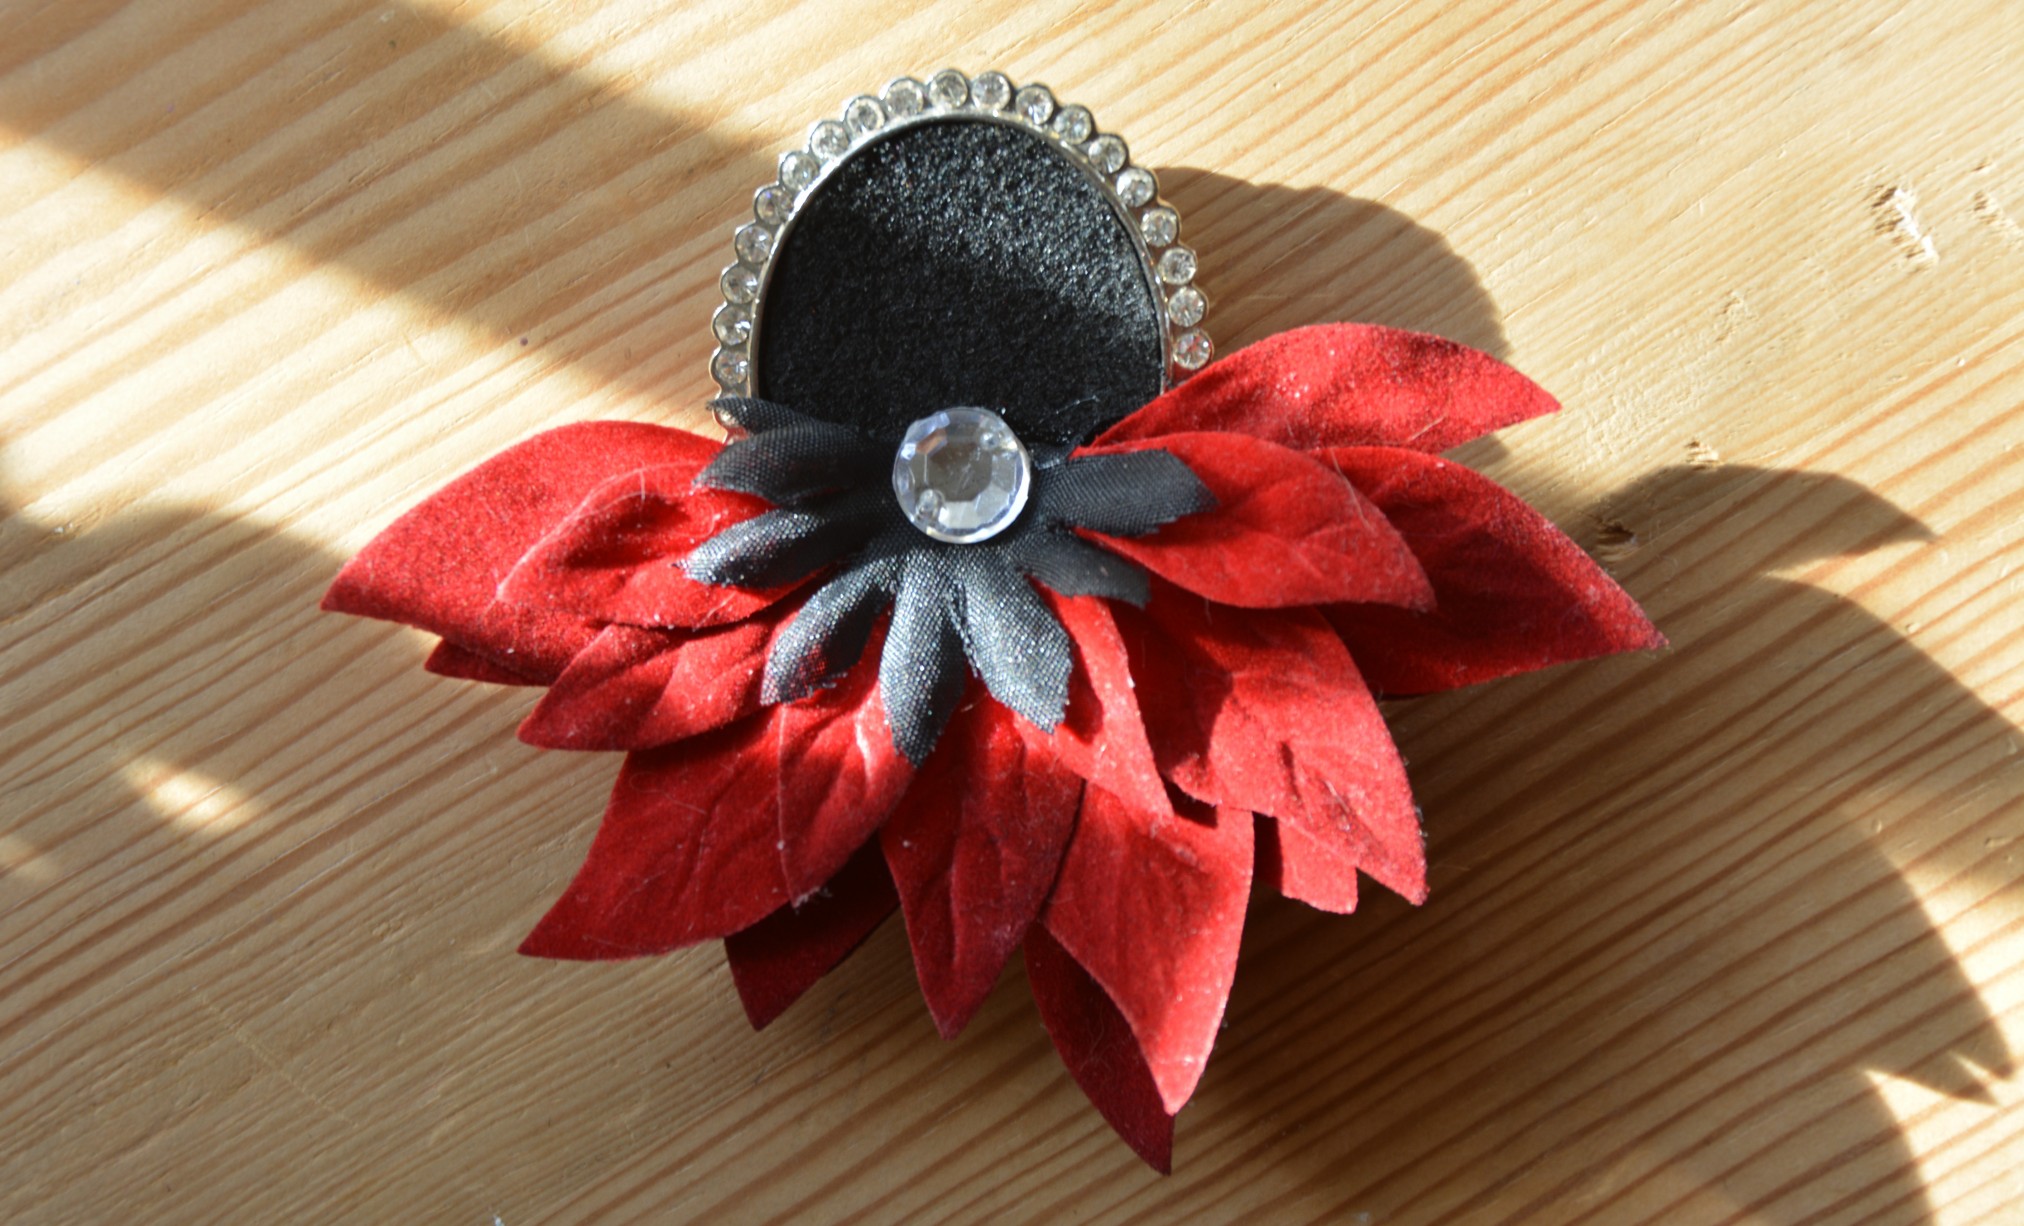
That was it for the second brooch! Not to bad eh? 😉
If this post was something you really enjoyed, you might just feel the same about my Marni inspired earrings and these Dior inspired bra straps.
Thanks For Reading
Do you have any questions? Feel free to ask me in the comment section below. If you liked this post, please don’t forget to click the like button below. To receive an email when I publish something new; subscribe to my email list by clicking the follow button below (or click here.) If you’d like you can also use the buttons below to share this post.
One Reply to “DIY Fridays (the 13th): Marni Inspired Brooches”
Så snyggt! Bra tips!😄👍