
DIY: How To Make A Scarf Ear Wrap/Earring
I have returned from hibernation! Although I’ll admit, I would like to stay there because it has been oh so cold (although it’s a bit better now). Before my long Christmas break, I doubted myself, because I had literally no inspiration left. A part of me worried that it would never return and that I had lost interest in
The first post of the year
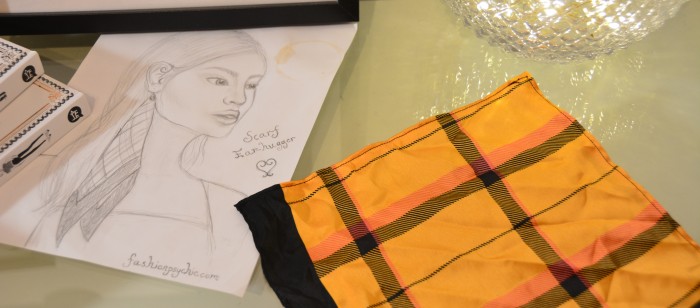
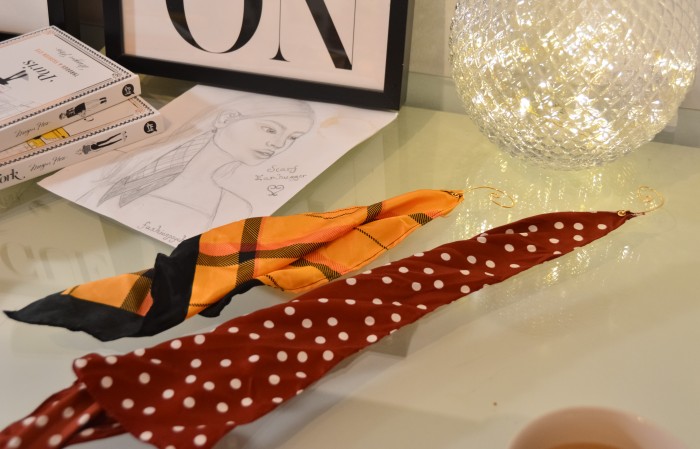
This post will be the first one since late December and it is a DIY post. I started to plan this DIY as far back as late November. When some time has passed since I first start planning a post, it sometimes becomes irrelevant. Fortunately, this post is still relevant in my eyes. The inspiration for this post came from the Marine Serre 2018 Ready-to-wear fall collection. Most of the models wore an earring, all with a different silk scarf hanging from it. As pretty as that was, the risk of tearing your ear lobe off is real…
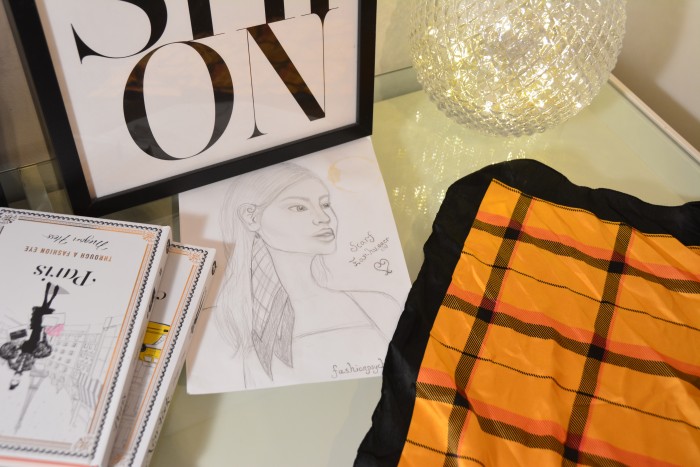
The Ear Wrap
So once I decided an earring with a long scarf hanging off of it wasn’t the best idea; I decided an ear wrap would be better. When I first got the idea I wasn’t sure what to call it, and I decided ear-hugger made sense (hence the text on my design.) It sounded accurate since the wire is hugging your ear, but the term “ear-hugger” is more commonly used for postback earrings where a decorative backing protrudes to the front right below the lobe, thus hugging the lobe or the ear if you will. So I decided to google “ear wrap” which seemed to be what most people call it.
Anyways, here is how I made the scarf ear wrap.
What I used
1
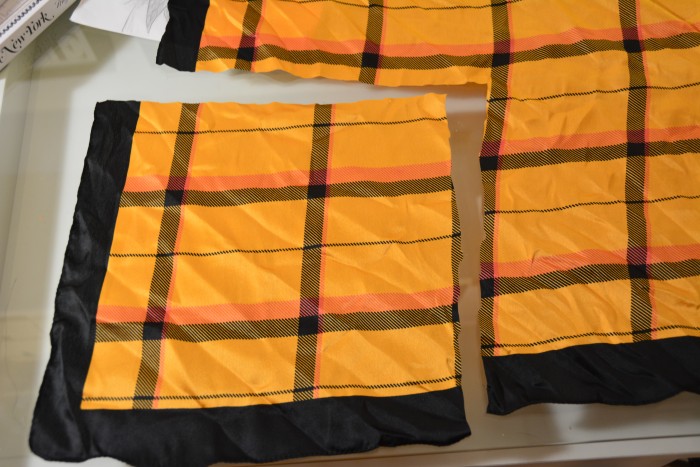
The first thing I did was laying out the scarf and deciding what size I wanted it to be. I cut out a square which was approximately 30 cm.
2
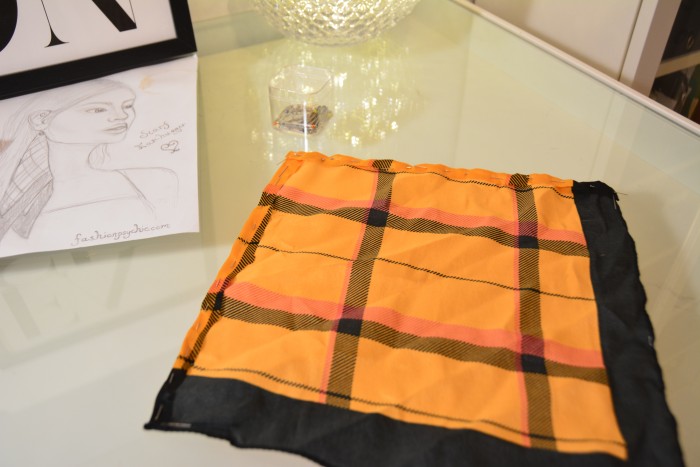
Next, I folded and pinned the two edges that weren’t hemmed (the ones that I just cut.)
3
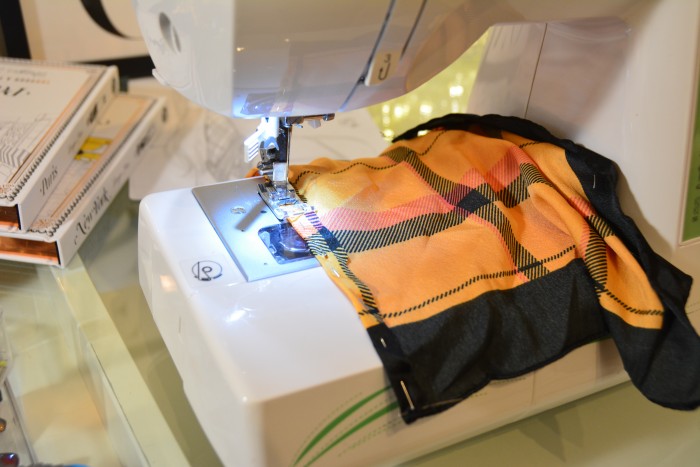
And then I sewed along the edge (as straight as I could) with a black thread.
4
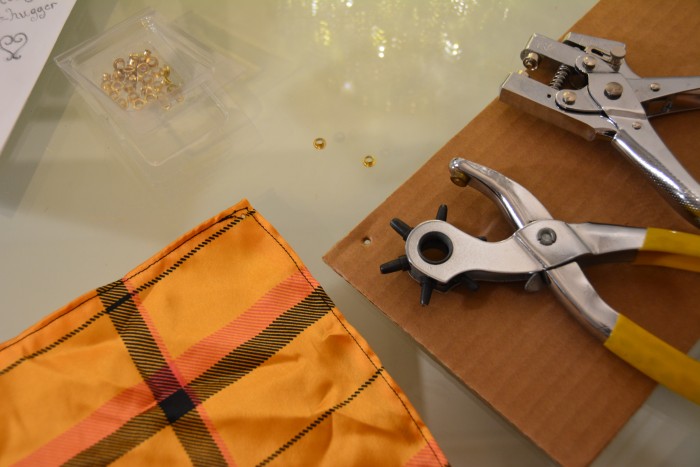
When the scarf was finished; I used a hole punch to make a hole at one of the corners of the scarf. I used a piece of cardboard underneath to make it easier.

5
And then I used my eyelet pliers to add the eyelet to where the hole is. That’s when I realized that the eyelet pliers had a hole punch on the side…
6
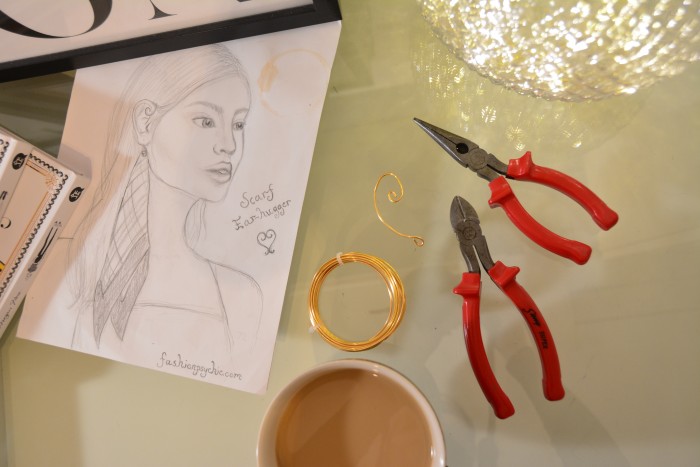
After that, I shaped a piece of wire into a shape that would wrap around the ear properly. I had to try it on and adjust it a bit until it had the right fit.
7
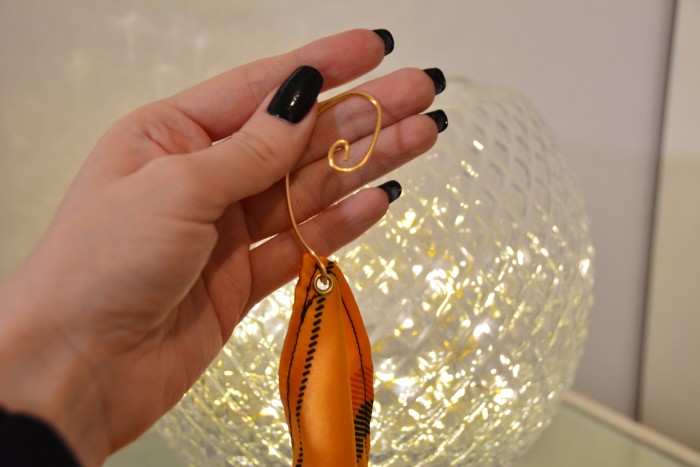
Finally, I attach the scarf to the wire piece. The bottom loop was facing the wrong way at first so I had to adjust it. (The picture shows you the right way)

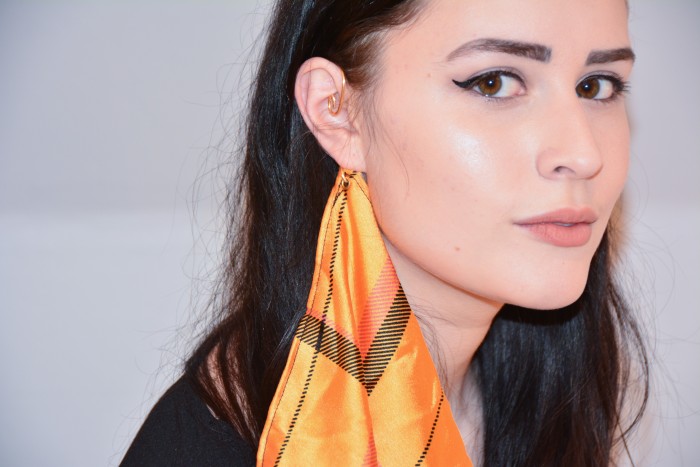
And there you have it! I was really excited about this DIY and I am really happy with how it turned out.


But wait, there is more…
I also made a new video where I show you the steps of how to make the ear wrap. The only difference is the shape and size that I made the scarf piece. It’s longer and less voluminous at the top so it’s a bit of a different look. If you’re interested, take a look below to watch the video as well as some pictures (also shown in the video.)


Thank you so much for reading
Do you have any questions or ideas? Feel free to write in the comment section below. If you liked this post, don’t forget to click the like button below. To receive an email when I publish something new; subscribe to my email list by clicking the follow button below (or click here.) If you’d like to you can also use the buttons below to share this post.
For exclusive content, previews of coming posts and more fashion, check out my Instagram!
-Frida
[instagram-feed]